![]()
Has an Intel powered laptop or desktop PC with dedicated NVIDIA GPU? Installing the proprietary NVIDIA driver and switch between the GPUs is easy in Ubuntu.
Since Ubuntu now maintains the latest NVIDIA drivers via the restricted repositories, users can easily install the latest proprietary drivers in Ubuntu via a few clicks.
Install NVIDIA Driver in Ubuntu:
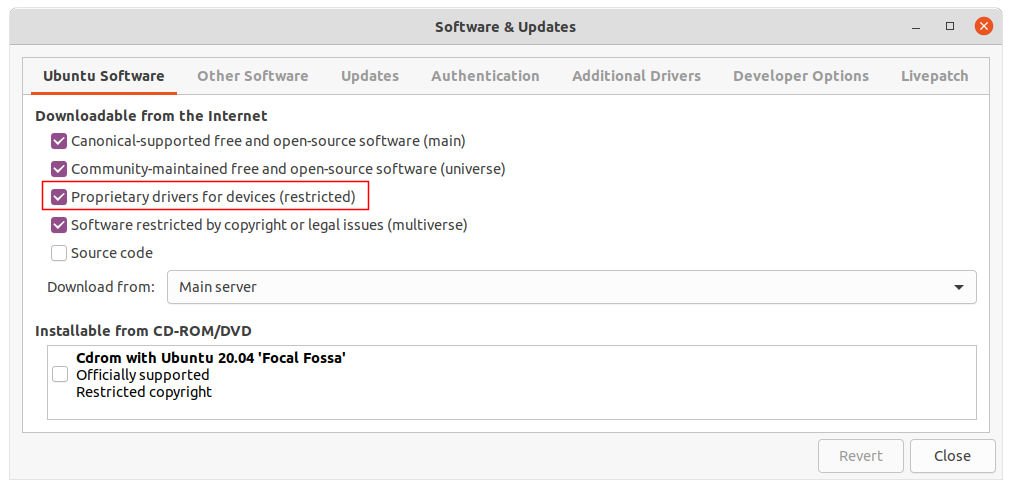
1.) In case you changed the software sources, firstly open ‘Software & Updates‘ utility and make sure the ‘Proprietary drivers for devices (restricted)‘ is enabled.
2.) Either search for and open ‘Additional Drivers‘ from system app launcher, or navigate to that tab in the previous window.
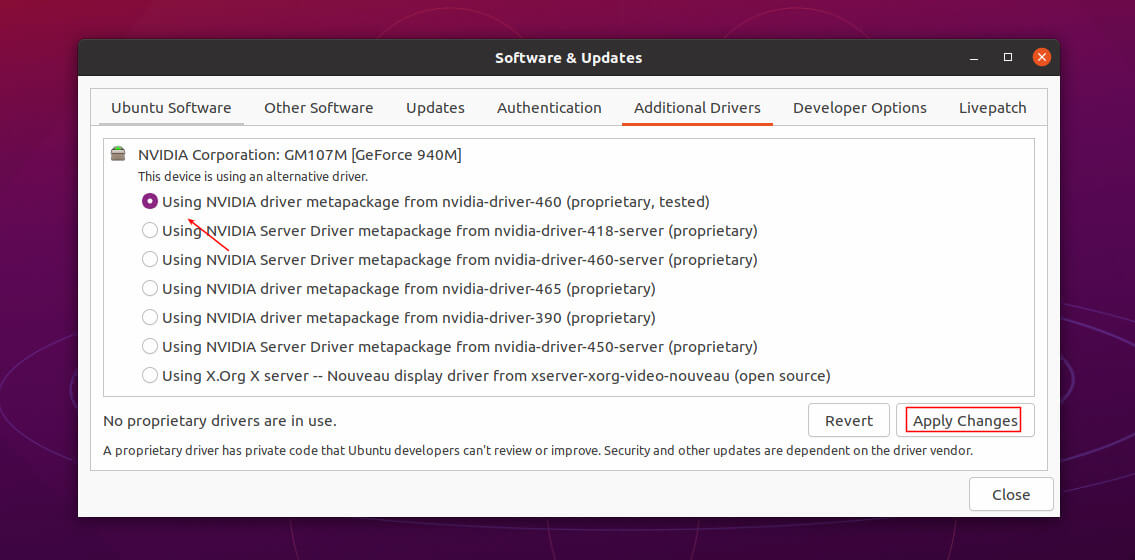
3.) Choose the latest NVIDIA driver from the list and click on ‘Apply Changes’ to install it.
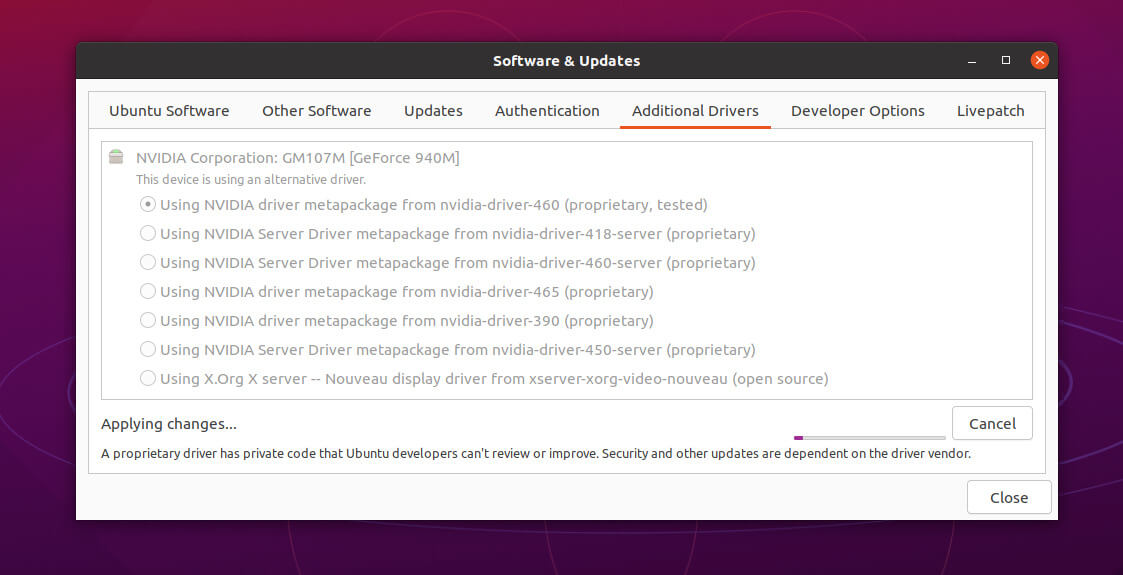
Once installed, you have to restart your machine to apply changes.
Switch between NVIDIA and Intel Graphics:
After restart, you machine will be on performance mode with the dedicated GPU. To switch GPU mode:
- search for and open ‘NVIDIA Settings’ from app launcher.
- Next go to ‘PRIME Profiles’ in the pop-up NVIDIA settings dialog.
- Choose among NVIDIA Performance, NVIDIA On-Demand, and Intel power saving mode.
- Finally log out and back in to apply changes.

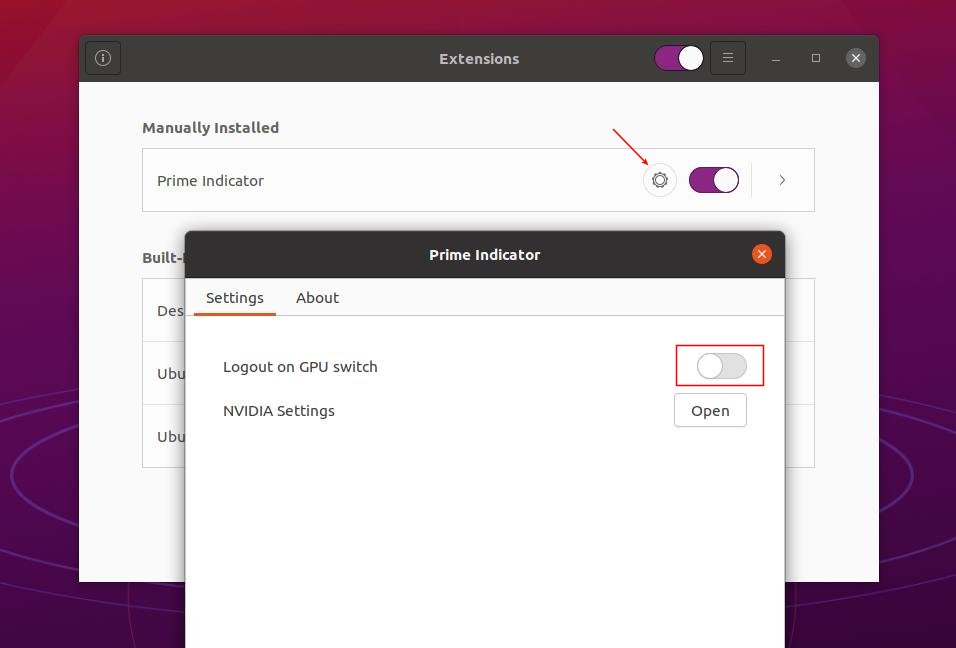
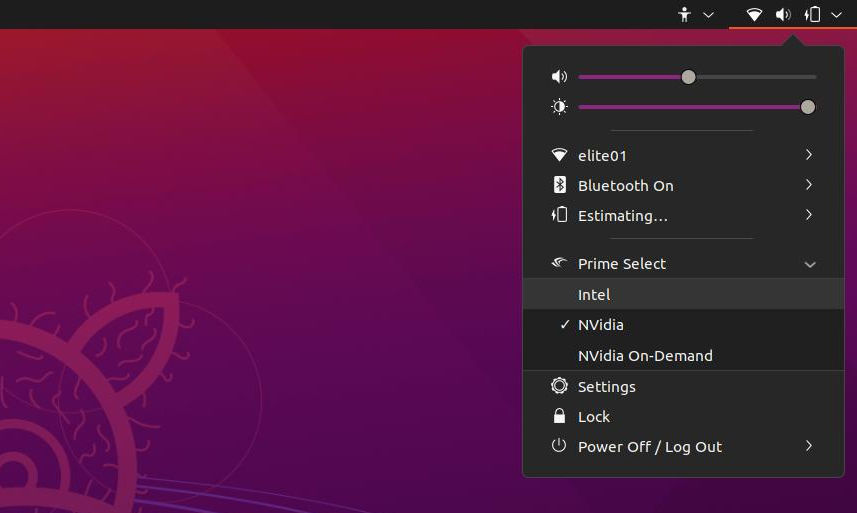
For convenient, there’s an extension available to integrate these options into system tray menu.
To install this Gnome Shell extension, do following steps one by one:
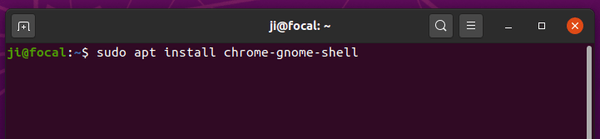
- Open terminal (Ctrl+Alt+T) and run command to install chrome-gnome-shell if you don’t have it:
sudo apt install chrome-gnome-shell

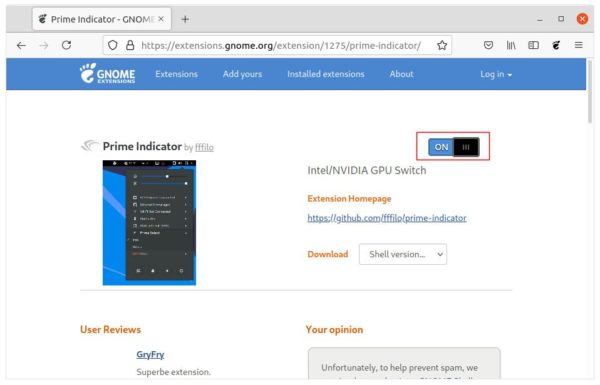
- Go to the extension web page, turn on the toggle icon to install it.
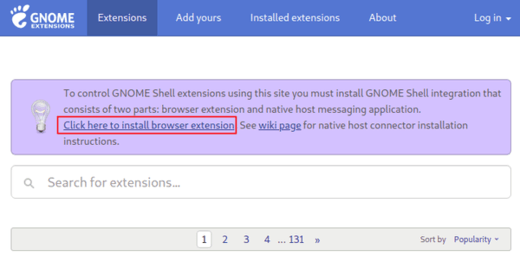
Don’t see the slider icon? Click the link ‘Click here to install browser extension’ to install browser extension and finally refresh the web page.

NOTE: Switching GPU mode via the system menu option will AUTOMATICALLY log out current session.
To disable automatically log-out, change the extension settings either via Gnome Extensions or Gnome Tweaks.