
Is your system showing the error message “Diagnosing your PC”? This usually happens after updating Windows. It’s caused by insufficient storage space, missing or corrupt system files, corrupt BCD, and recent problematic updates.
In any case, here’s how to resolve it!
How To Fix Windows 10 “Diagnosing Your PC” Error
Solution 1: Boot into Safe Mode and Clear the Disk Storage
- Press Windows + R to open the Run window.
- Type the command MSCONFIG and hit Enter to open the System Configuration window.

- Go to the Boot tab.
- Check the checkbox associated with Safe Boot.
- Click on Apply and then on OK.

- Select Restart.

- Your system will reboot in the Safe Mode with minimal drivers.
- Now, search for Disk Cleanup in the Window Search bar.
- Open the Disk Cleanup application.

- Check all the boxes.
- Click on OK.
- Select Delete files.
Solution 2: Run an SFC Scan
If the problem is caused by corrupt system files, then an SFC Scan can check for them and replace them.
- Search for Command Prompt in the Windows Search bar.
- Open the Command Prompt window by clicking on Run as administrator in the right pane.

- Type the command SFC /SCANNOW and hit Enter to repair the system files.

Solution 3: Run a DISM Scan
The DISM Scan repairs the system image. It’s similar to the SFC Scan.
- Search for Command Prompt in the Windows Search bar.
- Click on Run as administrator in the right pane to open the Command Prompt window.
- Type the following command and hit Enter to execute it:
DISM /Online /Cleanup-Image /RestoreHealth 
4. Reboot your system after the command has been executed.
Solution 4: Uninstall/Roll Back Recent Windows Updates
- Right-click on the Start button and select Settings from the menu.

- Go to Windows Update >> Update history >> Uninstall updates.

- Click on Uninstall corresponding to the latest update.
- Click on Uninstall once again.
Solution 5: Disable Automatic Repair
At times, Automatic Repair may cause issues. Thus, you can consider disabling it.
- Open the Command Prompt window as explained in solution 2.
- Type the following command and hit Enter to execute it:
bcdedit /set recoveryenabled NO 
Solution 6: Rebuild BCD
If the BCD (Boot Configuration Data) is corrupt, then you can consider rebuilding it.
- Open the Command Prompt window as explained in solution 2.
- Enter the following commands:
bootrec /fixmbr
bootrec /fixboot
bootrec /scanos
bootrec /rebuildbcd 
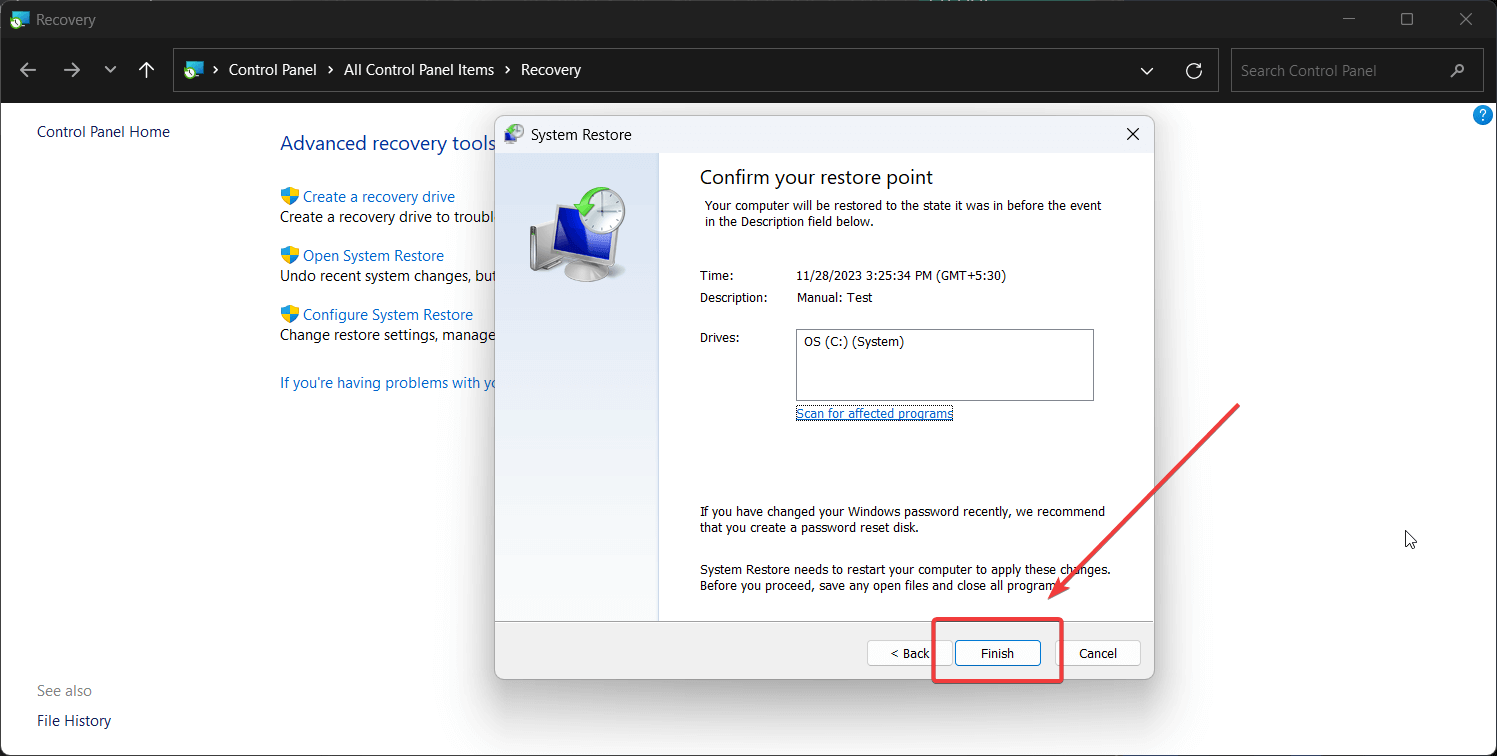
Solution 7: Perform a System Restore
To revert your system to an earlier point, try the following method:
- Search for Recovery in the Windows Search bar and open the application.

- Select Open System Restore.

- Select the Restore point and click on Next.

- Click on Finish.
The error “Diagnosing your PC” can be tricky to handle. In my case, I fixed it by deleting temporary files and creating space on the system. However, if this solution doesn’t work for you, you can proceed with the other ones in this article.