Windows 11 introduced a new Settings app, which is the way Microsoft wants most users to change settings on their PC. The Settings app has a modern UI and it provides a wide range of options for users to tailor their PC experience, but it’s not exactly a perfect replacement for the classic Control Panel. If you want to access those old Control Panel options, there’s a feature often referred to as God Mode in Windows 11, which gives you quick access to over 200 settings in a very intuitive way.
God Mode in Windows 11 (as well as previous versions of Windows) is simply a folder that contains shortcuts to most or all of the options available in the Control Panel. It’s useful because it makes all of those shortcuts quickly available without having to navigate the potentially confusing interface of the Control Panel. All the items are sorted and grouped so they’re easy enough to find. If you’re wondering how to enable this feature yourself, we’re here to help.
How to enable God Mode in Windows 11
Enabling God Mode is easy enough to do once you know the steps you need to follow. It’s also a relatively risk-free process, aside from the fact that it puts important settings front and center. If you share your PC with someone who might mess with these settings, you may want to create a separate user account for them without administrator privileges. Here’s how to enable God Mode on Windows 11:
- Create a new folder on your desktop. To do this, right-click an empty area of the desktop, hover over New and then choose Folder.
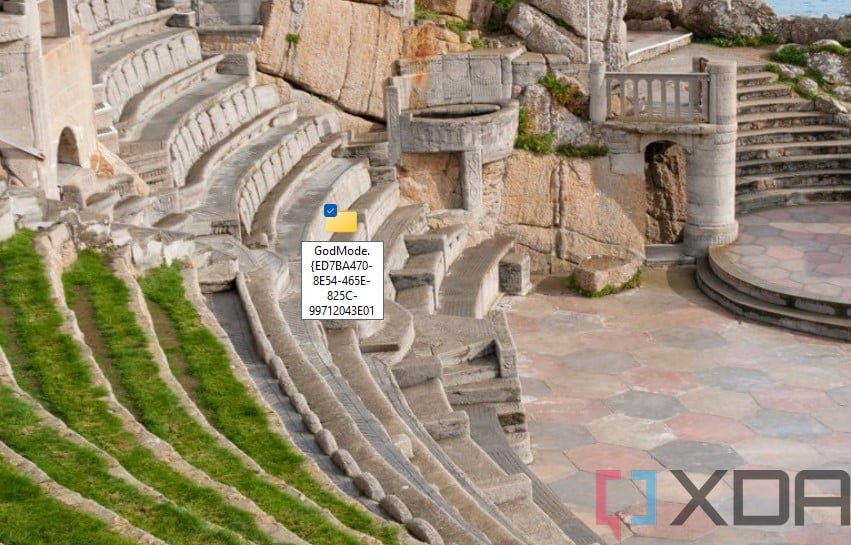
- Name the folder GodMode.{ED7BA470-8E54-465E-825C-99712043E01C}. If you’ve already created it with a different name, right-click the folder and choose Rename to change it.

- Once you hit Enter after changing the name, that name will disappear, and the icon should change into a Control Panel icon.
- You can now open the folder to access all the settings inside. You’ll find settings for everything from AutoPlay, user accounts, disk optimization, and so on. There are a total of 211 items, but that could vary depending on what version of Windows you’re running.

- In some cases, the setting you want to use may have been completely replaced by the Settings app, and the shortcut will open that app instead of the classic Control Panel.
- Because it’s a standard folder, you can also easily copy settings shortcuts directly onto your desktop for even quicker access. Simply drag and drop the setting you want and it’ll be accessible directly on the desktop.

If you want to access some of the old-school settings in Windows 11, God Mode is definitely the easiest way to do it, especially with Microsoft pushing the classic Control Panel further and further into the depths of the OS. Many settings are now hidden behind complex navigation and different pages, so having a folder with everything laid out right there and then can be very helpful.
If you find that having all of those options on the desktop isn’t useful for you, you can simply delete the God Mode folder to get rid of it. All the options will continue to be available through the usual means, you’re only deleting shortcuts.
That’s about it for this guide, but if you’re interested in learning more about lesser-known Windows 11 features, you may want to check out how to create a battery report in Windows 11.
The post How to enable God Mode on Windows 11, and what is it? appeared first on xda-developers.
