
How to install fonts in Ubuntu 20.04. Here is how to install Windows fonts and Google fonts in Linux Ubuntu. Users can easily install multiple fonts in Ubuntu via GUI or via terminal commands.
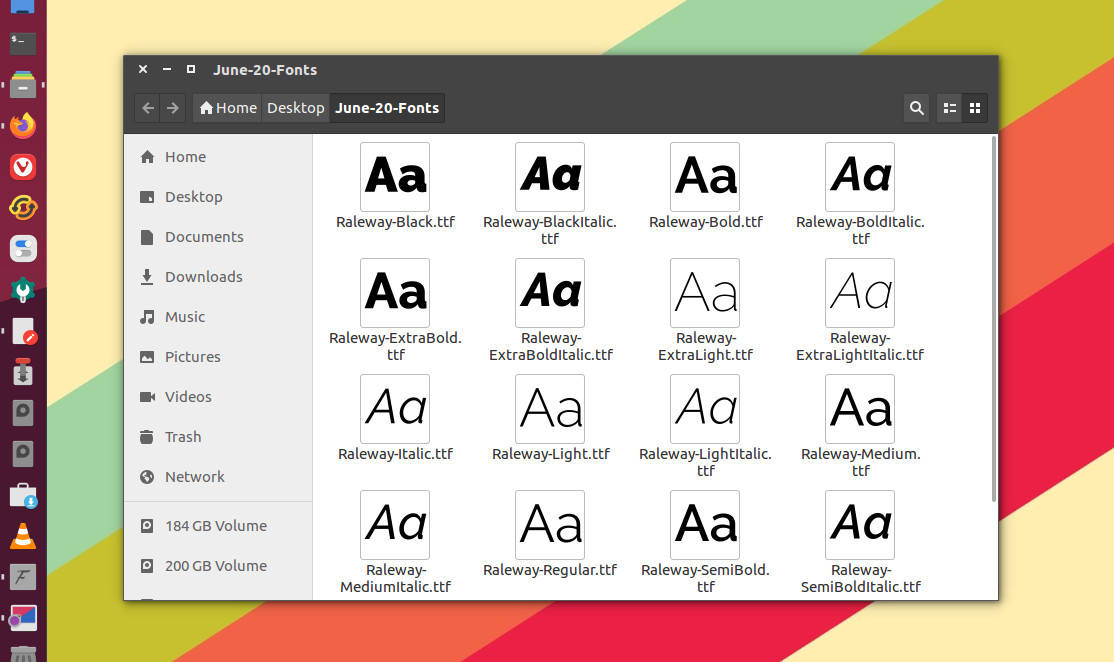
Installing fonts in Ubuntu – downloaded
- Open the folder where you have downloaded the font file.
- Double click on the font file to open it. This opens a font viewer window.
- On the right there is a button, “Install Font”. Click on it.
- Wait until the button turns to greyed out “Installed”.
You can download the fonts available from google web fonts https://fonts.google.com/
There are various locations in GNU/Linux in which fonts can be kept. These locations are defined in /etc/fonts/fonts.conf; standard ones include /usr/share/fonts, /usr/local/share/fonts, and ~/.fonts.
The easiest way to install a truetype font is to press alt-F2 and enter the following code (this will open nautilus in the right directory):
gksu nautilus /usr/share/fonts/truetype
Then create a new directory, name the directory whatever you like (choose a name that you remember) and copy the fonts into that directory. To create the folder and install the Raleway.otf font:
sudo mkdir -p "~/.fonts/truetype/choose_a_font_folder_name_here"
sudo cp Raleway.otf "~/.fonts/truetype/choose_a_font_folder_name_here"
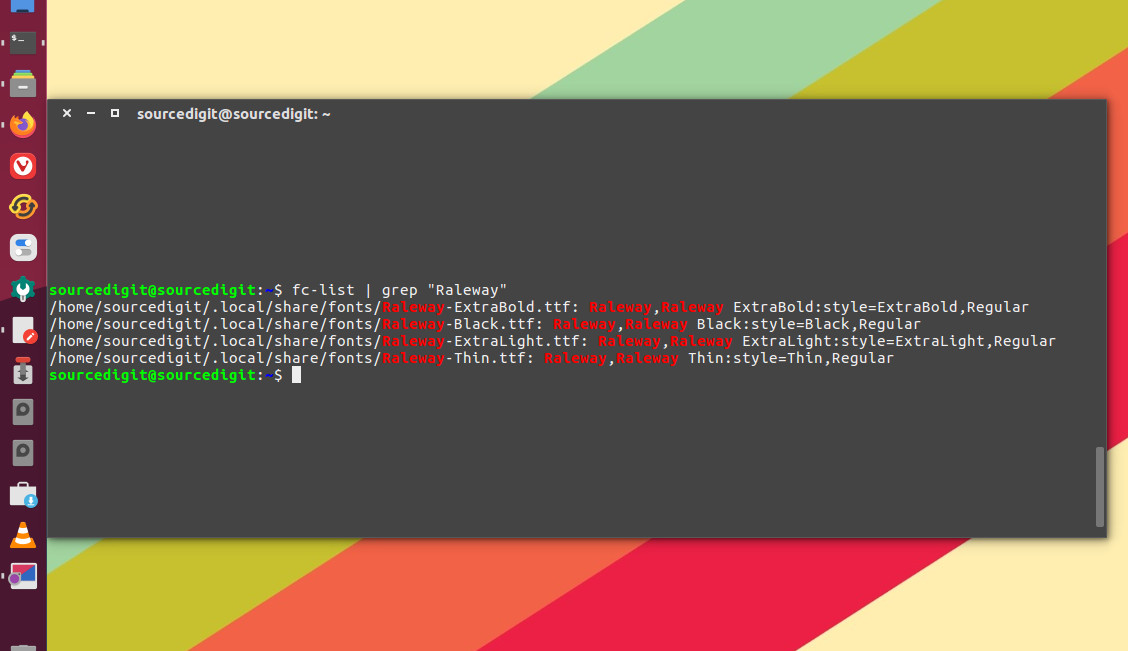
Verify the font installation
Confirm that the fonts are installed by displaying the paths and style definitions with the fc-list command filtered on the font family name with grep:
fc-list | grep "Raleway"
Note that in the above line of command replace Raleway with the font name you wish to check.