Over the past few years, Microsoft has improved the default Mail app in Windows 10 in a big way. Although it has not received any major UI overhauls, it is much more polished and reliable now.
A significant percent of Windows 10 users are using the Mail app as the default email client because it is offered with Windows 10 and because it offers everything that most users would look for in a desktop email client. Sure, there are better email clients out there, including Microsoft Outlook, but most users will never need an advanced email client.
As the Mail app is a basic email client, it does not offer everything you see in Microsoft Outlook or Thunderbird.
One of the small features that many users miss in the Mail app is the ability to reorganize email accounts in the accounts list that appears on the side-pane. Surprisingly, the Mail app in Windows 8 allowed users to rearrange email accounts in the accounts list!
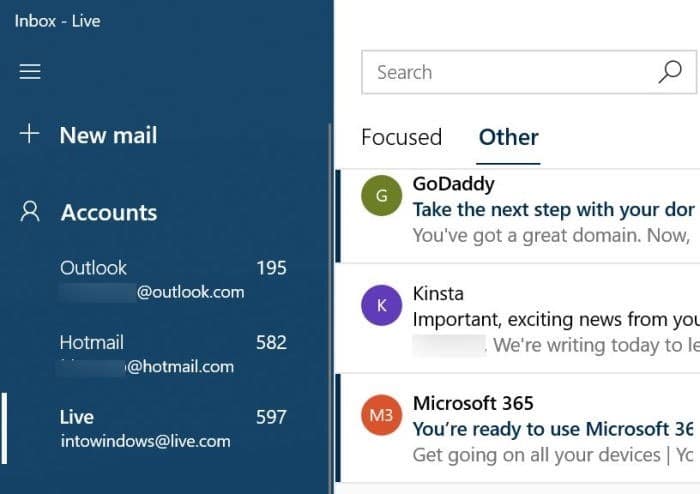
The email accounts list, which shows up in the Mail app’s left-pane, does not let you rearrange the email accounts. This becomes a problem when you have added two or more email accounts to the Mail app and want to rearrange the list. For instance, you might want your personal email account at the top of the list and your work email at the bottom of the list or vice versa after adding accounts. You cannot rearrange them once they are added to the Mail app.
Now that you know that the Windows 10 Mail app does not allow you to rearrange accounts in the list, you might want to know if there is a workaround for this issue.
Unfortunately, there is no real solution to this problem unless you do not mind deleting and then adding email accounts all over again.
Delete and then add email accounts again in your preferred order
We know that this is a painful workaround. Then, if you want to rearrange your email accounts in the Mail app, this is the only method out there. Here is how you can do it.
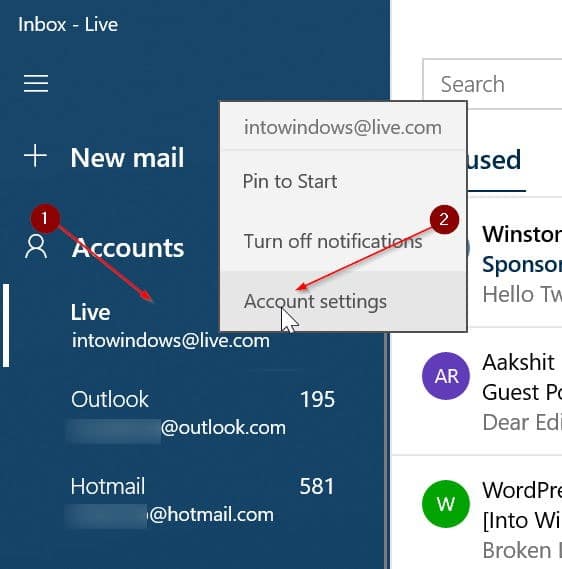
Step 1: Right-click on an email account in the accounts list and then click the Account settings option.
Tip: Remove all email accounts except the one you would like to see at the top of the list.
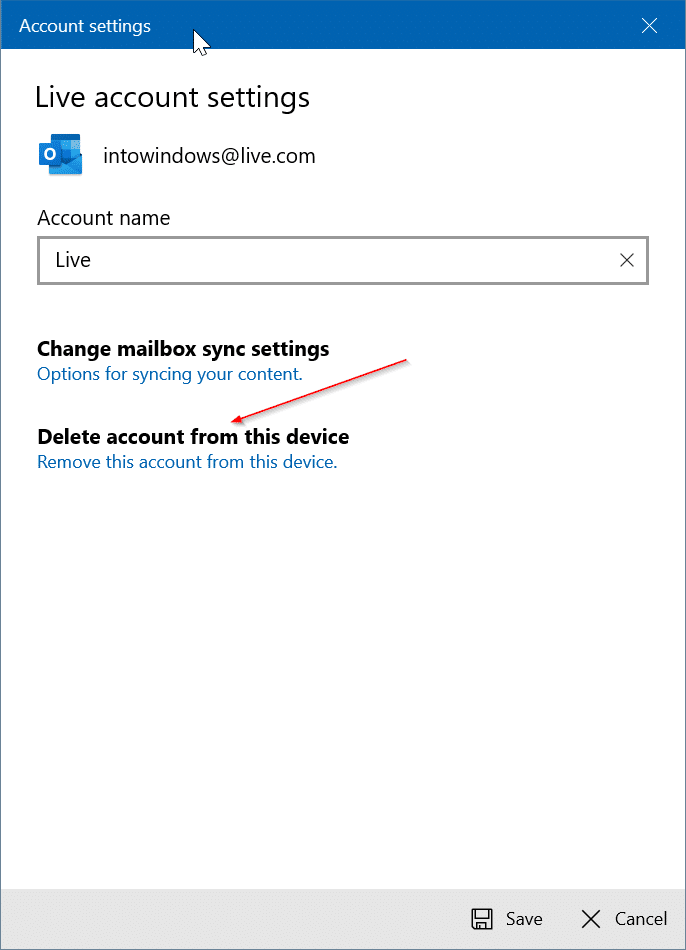
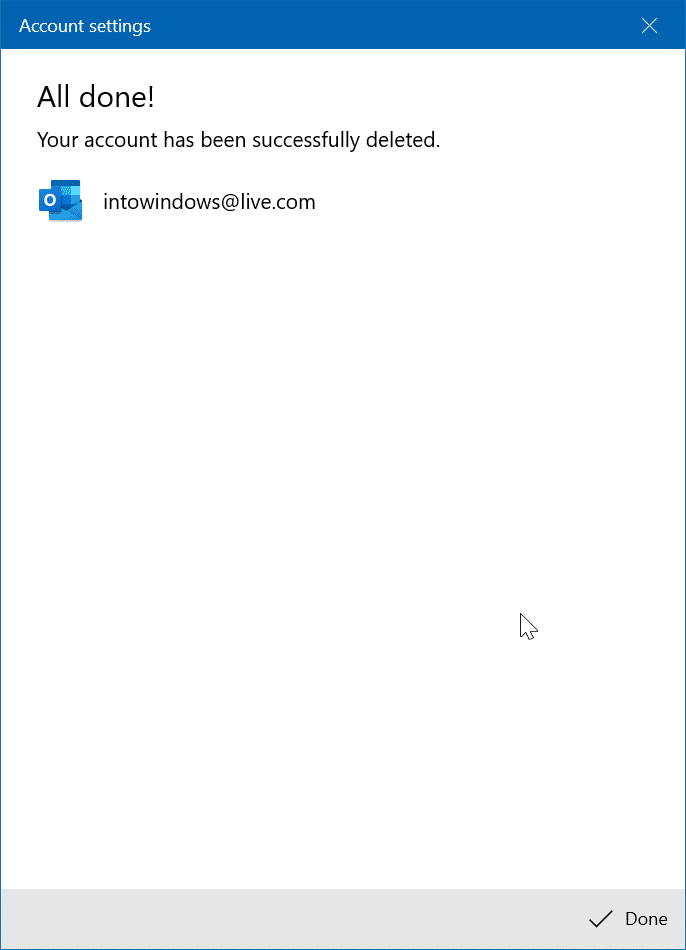
Step 2: In the resulting Account settings dialog, click the Delete account from this device option.
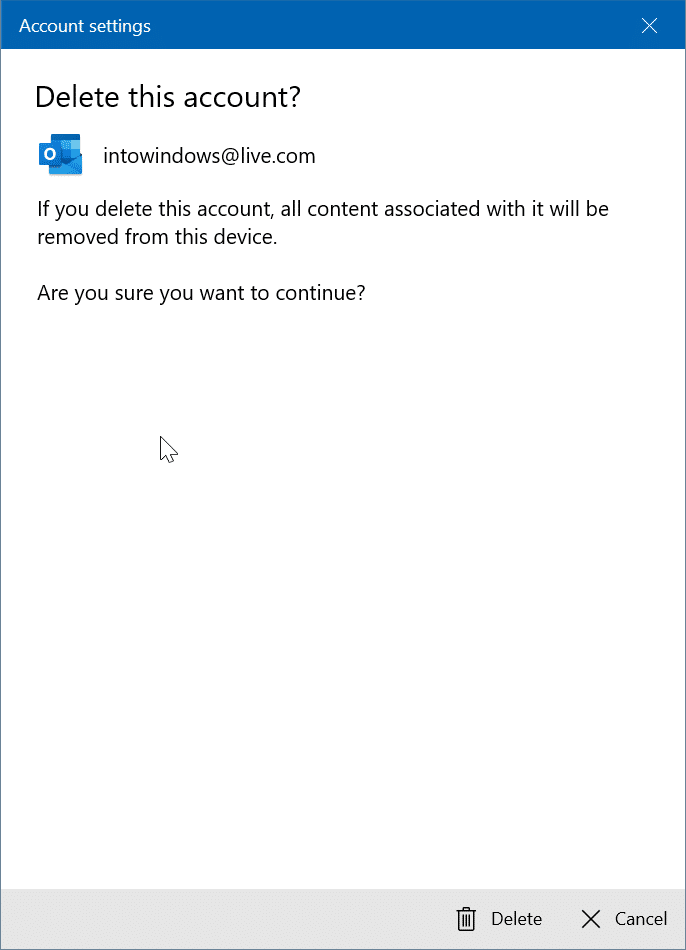
Step 3: When you get the following confirmation dialog, click on the Delete button to delete the account and its information.
Step 4: Repeat the steps mentioned above for all accounts except the one you would like to see at the top of the list.
Step 5: It is time to add your email accounts again. Now, while adding email accounts, be sure to add them in order.
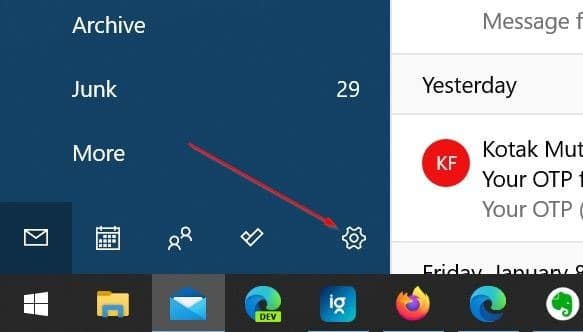
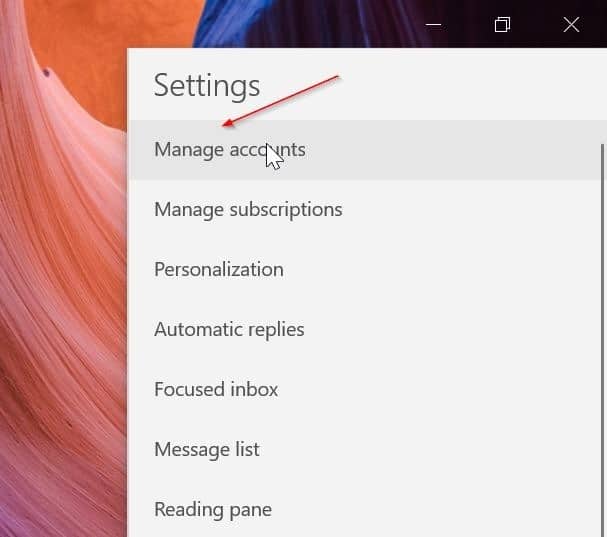
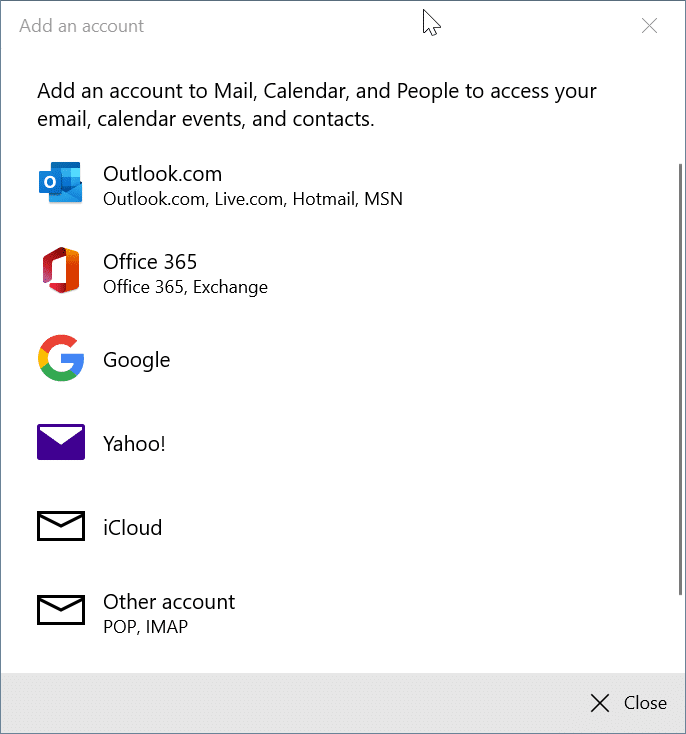
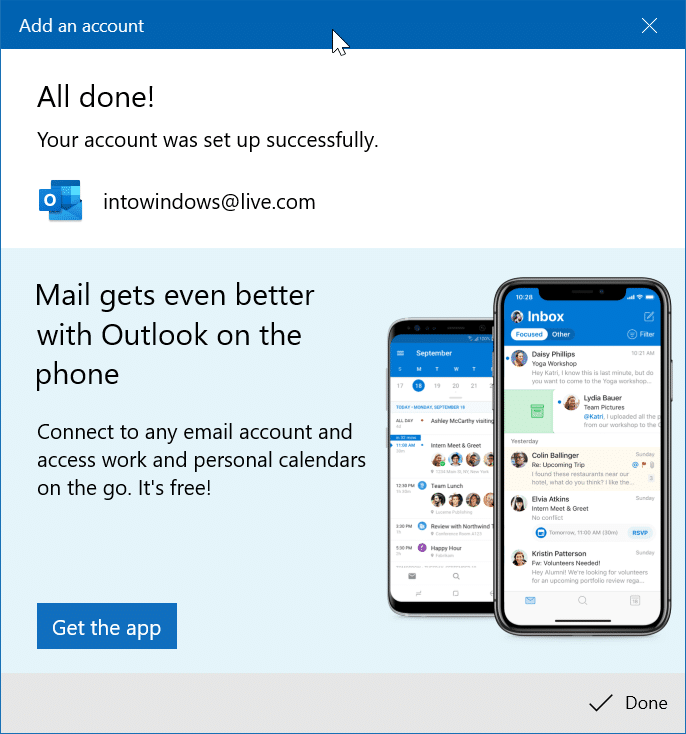
To add an email account, click on the Mail app settings icon in the left pane, click Manage Accounts, and then click the Add account option. The best part is that you might not need to enter your password or PIN again. Just select the email account from the list. You can refer to our how to add an email account to the Mail app in Windows 10 guide for step-by-step directions.