Some gamers want to make the memories last forever, and some want others to see their gameplay. For these reasons, you need to record the game, and it is only better if the recording is smooth, has excellent frame rates, and has no LAG. For this mission, you need a good gameplay recorder, and the iTop game recorder for Windows 11/10 is the best.
We will review iTop Screen Recorder and learn more about the issues with typical game recording.
Why Your Gameplay Lags While Recording?
There are many reasons for not achieving that smooth recording you desire. It can be related to the hardware, and also it can be a software problem. All the common problems involved in a lagging game recording are these:
- Insufficient PC specifications: The recording process demands a lot of resources from the computer, such as CPU, GPU, and RAM. If the PC specifications are insufficient, it may result in lag while recording.
- Outdated drivers: A graphic card driver is essential for Windows systems to communicate with graphic cards efficiently. Outdated graphics card drivers can cause performance issues, including lag while recording.
- Background processes: Typically, the Windows operating system is vast, and multiple services and processes run simultaneously. Running multiple background processes, such as antivirus software or other resource-intensive applications, can lead to lag while recording.
- Network issues: If the recording process is being done over a network, network issues such as slow speeds or high latency can result in lag while recording.
- Poor Recording software: Poor software is the most common issue in lagging. It is the most critical aspect of a smooth video recording. Most software out there in the market is trash because the software is not optimized and is inefficient with the machine’s hardware. iTop Screen Recorder with audio is a strong suggestion for the gaming geeks as it is not only highly optimized, it runs in the background like butter, providing you with that smooth game recording.
Improving Game Recording Using iTop Screen Recorder
Here are a few suggestions that serve as a cherry on the cake and greatly improve game recording using an iTop game recorder on Windows 11/10!
- First, you must close any unnecessary programs before launching your game. It’s because unnecessary programs reduce the machine’s performance.
- Secondly, keep your graphic card drivers updated, as every update has pros.
- Lastly, provide an allocation with enough space for the game because it helps enhance performance.
Record Your Gameplay with iTop Screen Recorder With No Lag
This is a brief guide for setting you up with the iTop Screen Recorder.
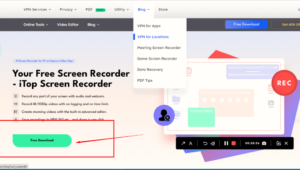
Download and install the software.
Step 1: You need to go to the iTop website to download and install the screen recording software. It is free of cost.

Configure the Software Settings for Optimal Performance
Step 2: After completing the setup and finalizing the installation. Open the iTop gameplay screen recorder.
Step 3: When you open the iTop Screen Recorder, you will see the main interface. There you can configure the type of window you want.
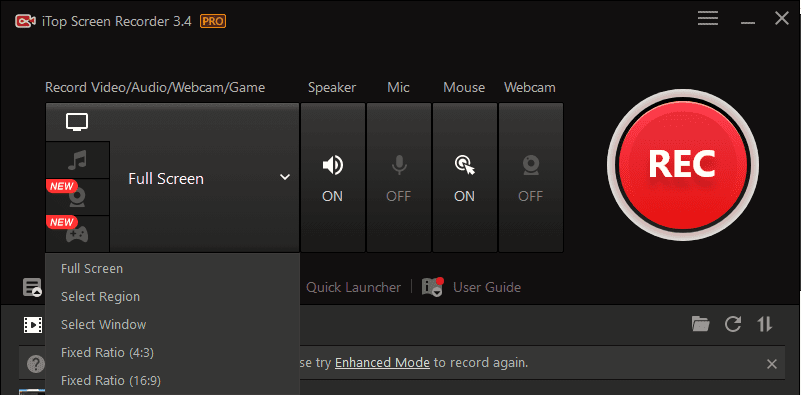
It can be full screen, specific Windows, and custom regions. Interestingly, you can choose between system sound, microphone, or both. You can also set more audio and video settings as per your desire.
Choose the Recording Mode: Full Screen, Window, or Custom Area
Step 4: You are introduced to the options of full screen, window, or custom area in the settings of the iTop recorder. You need to set your desired choice for your favorite results.
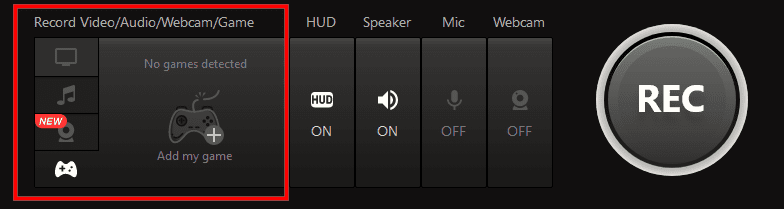
Recording the Gameplay
Step 5: Once you’re set with the configuration of your choice, you need to launch the game now. You can press the red record button or F9 to either start or stop the video.
Play the Game
Step 6: Play the game and show all that you’ve got. Don’t worry; let the iTop recorder capture your skills in the best way possible.
Stop the Recording
Step 7: When you stop the recording using the hotkeys (F9 to stop or F10 or stop/resume), you are asked to choose the file type (MP4, AVI, WMV, etc.). You can choose your comfortable file type and download the game recording.
Conclusion
It is not impossible to play the game and make a smooth recording simultaneously. Most importantly, it would help if you had the right tool for your work, and the iTop Screen Recorder is the answer. It has tons of features, like you can add your custom watermark. It has basic features for video and audio settings, along with being highly optimized and efficient.
With it, you can save the thrilling moments of the game in the way you like!