Just like Android devices, the iPhone also allows users to create a personal hotspot and connect other devices to the hotspot to access the internet. The feature is handy when you want to share your iPhone’s internet with your laptop on the move.
Connecting a Windows 10 laptop to an iPhone hotspot is a straight-forward job. However, occasionally, Windows 10 might not detect the iPhone hotspot. At times, Windows 10 might refuse to connect to the hotspot giving “Can’t connect to this network” error.
In this guide, we will tell you what to do when Windows 10 fails to detect the iPhone hotspot or when it shows “Can’t connect to this network” error.
We suggest you try the following solutions in that order.
Do these simple things first.
1. Make sure that the Personal Hotspot is turned on in your iPhone. If turned on, turn it off and on again. Sometimes, you need to turn off and then on for a few times.
2. Be sure to keep the iPhone unlocked when trying to connect to its hotspot from other devices.
3. Restart your iPhone as well as your computer and then try connecting again.
4. On your computer, check if the Wi-Fi is turned on.
5. On your iPhone, make sure that Allow Others to Join is turned on.
6. Update both iOS and Windows 10 to the latest version.
Turn off and then turn on the Wi-Fi
On both your PC and iPhone, turn off the Wi-Fi. Wait for a minute before turning it on again. Try connecting now. This trick works when Windows is not detecting the iPhone hotspot.
Change the iPhone personal hotspot password
This might sound like a stupid or cheap idea, but it surprisingly works. Changing the hotspot password and then connecting to the hotspot works without any issues. To do that:
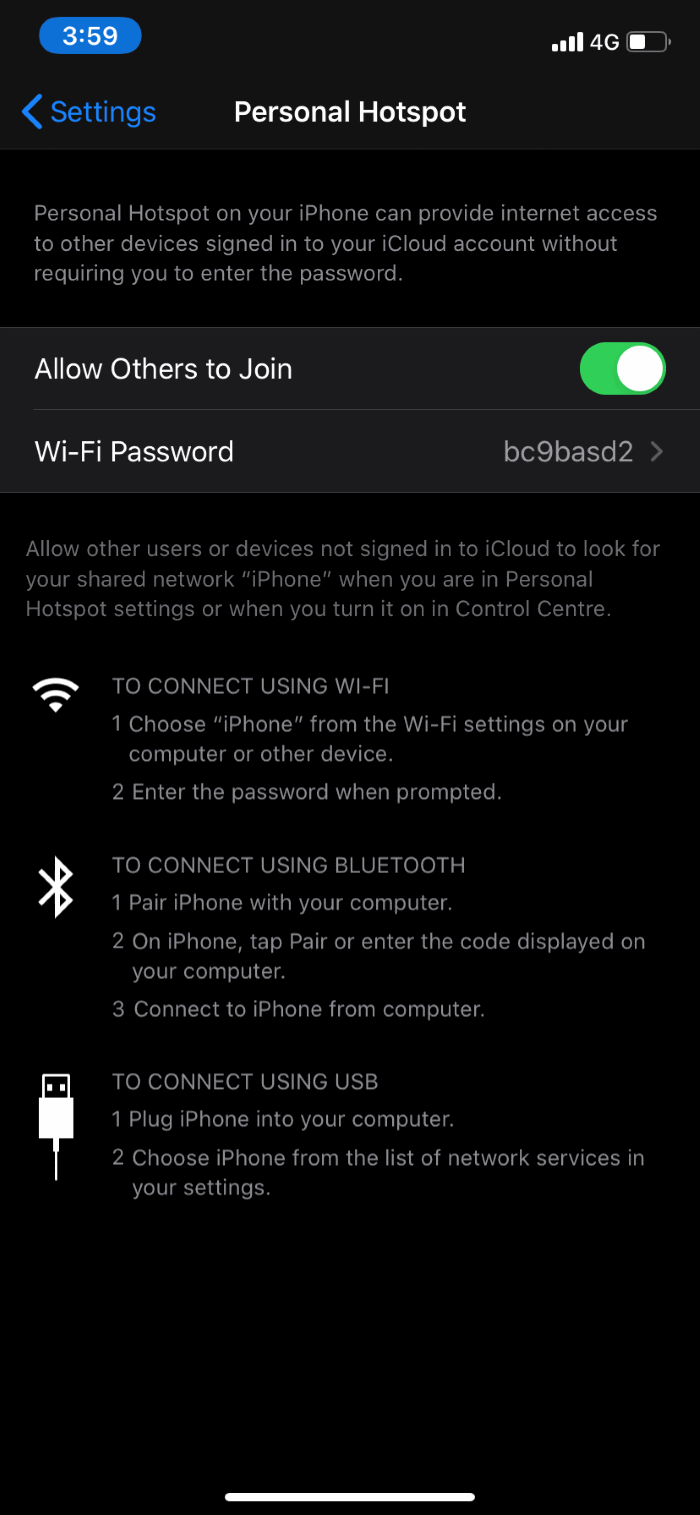
Step 1: On your iPhone, navigate to Settings > Personal Hotspot.
Step 2: Tap on the Wi-Fi Password option. Change the password before tapping the Done option. Note that the password must at least have 8 characters.
Change iPhone hotspot name
Changing the hotspot name can fix the problem sometimes. Here is how to do that.
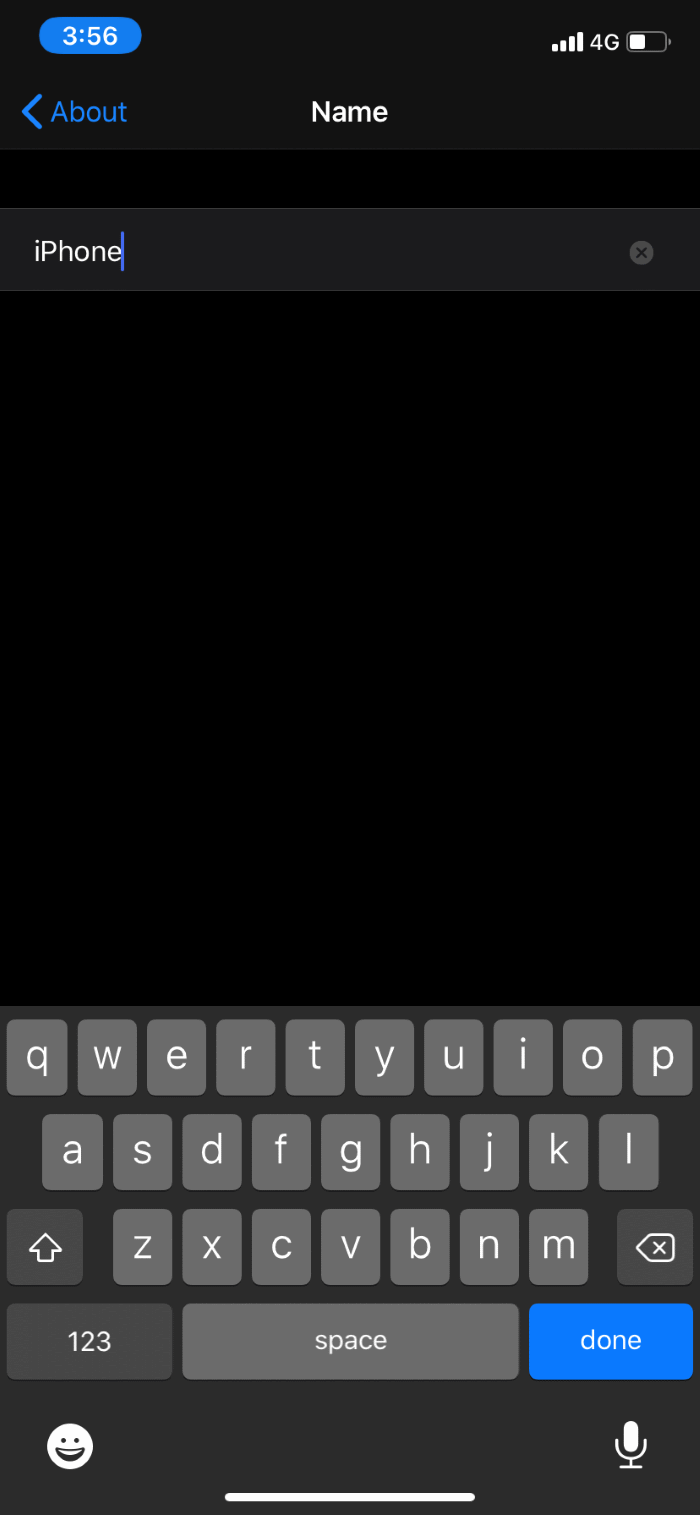
Step 1: Go to Settings > General > About > Name.
Step 2: Enter a new name. Tap the Done option to save it the new name of the iPhone.
Run the network troubleshooter on Windows 10
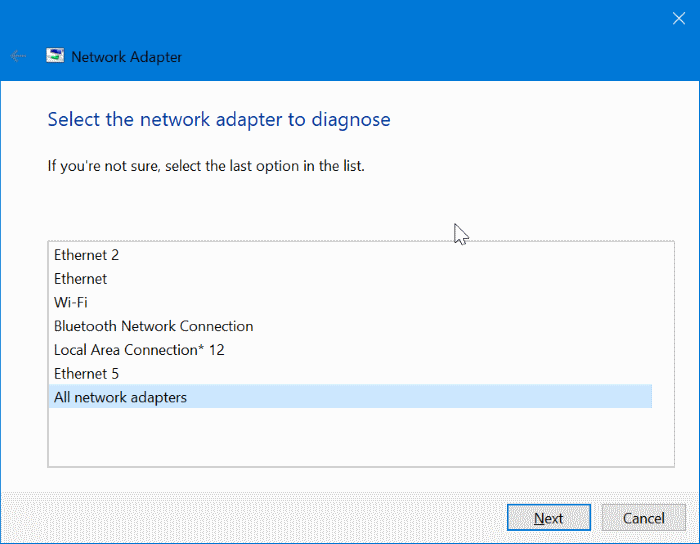
Windows 10 has a built-in troubleshooter, which you can run when Windows 10 fails to recognize Wi-Fi networks or shows an error when connecting to Wi-Fi. You can access the same by navigating to Settings > Update & Security > Troubleshoot page.
Run the troubleshooter and follow the on-screen directions.
Reset iPhone network settings
iPhone supports resetting only the network settings without affecting the data and other settings. The job is quite straight-forward as well.
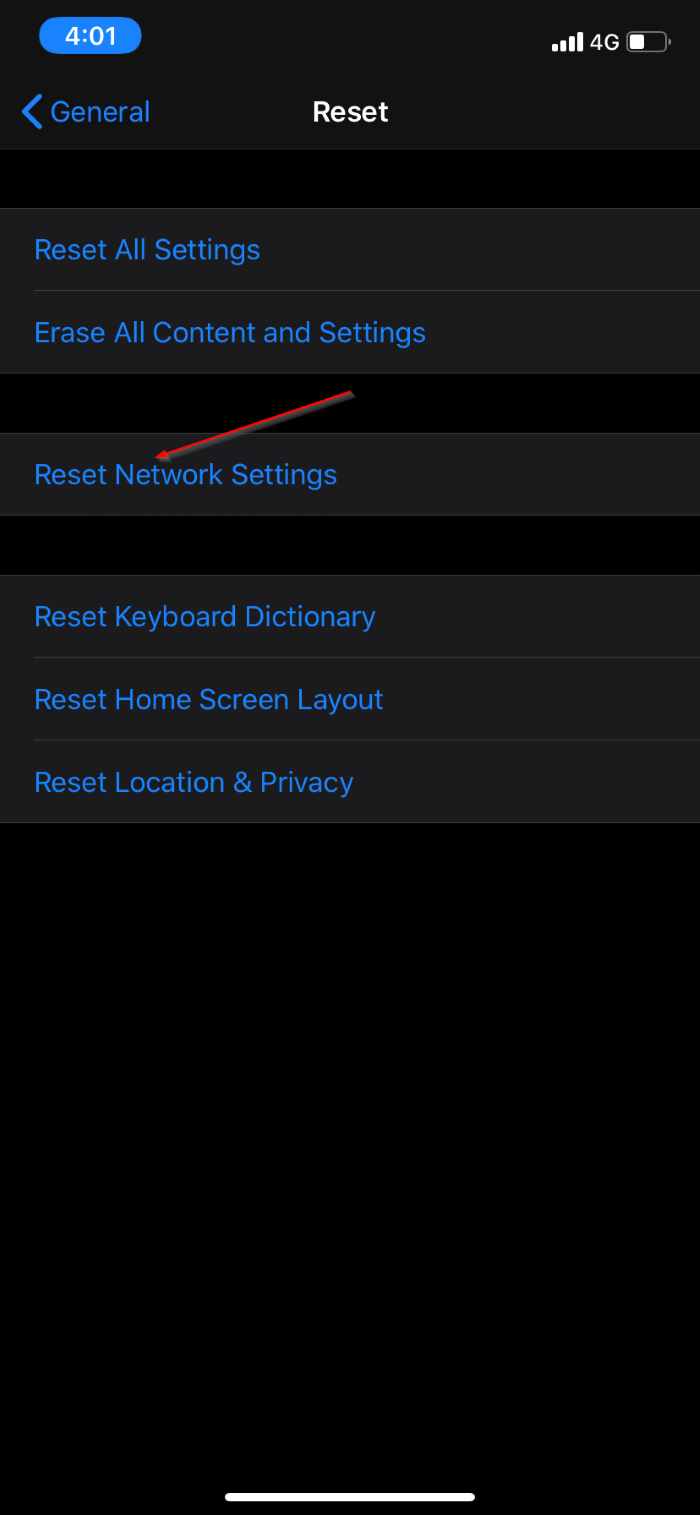
Step 1: On your iPhone, go to Settings > General > Reset page and then tap Reset Network Settings option.
Step 2: When asked, enter the passcode. Finally, tap the Reset Network Settings option to restart your iPhone and reset network settings.
Check if this solves the issue.
Perform network reset on Windows 10
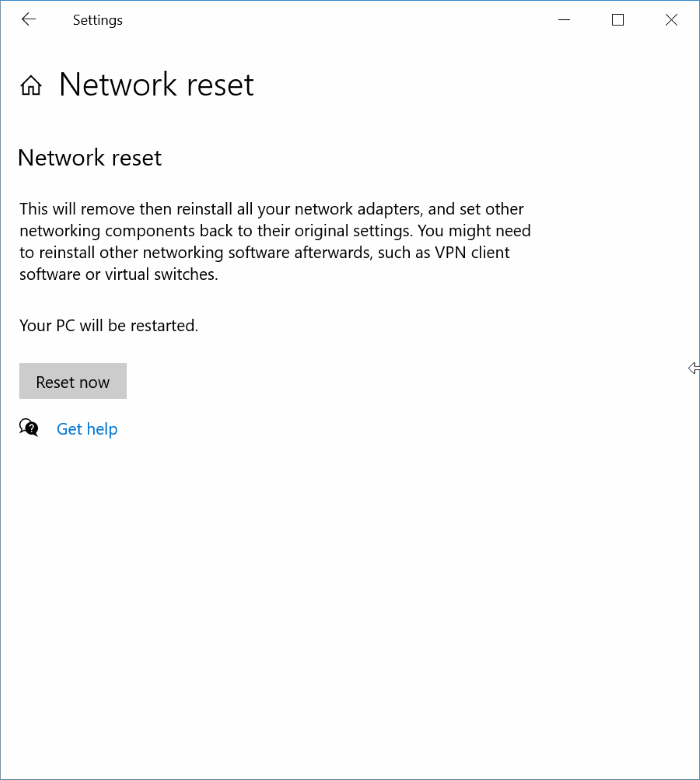
Windows 10 offers a way to perform network reset. When you reset the network, Windows 10 will remove and then reinstall all your network adapters and set other network components to default settings. Note that resetting network might remove some networking software like VPN software. Anyways, here is how to reset the network.
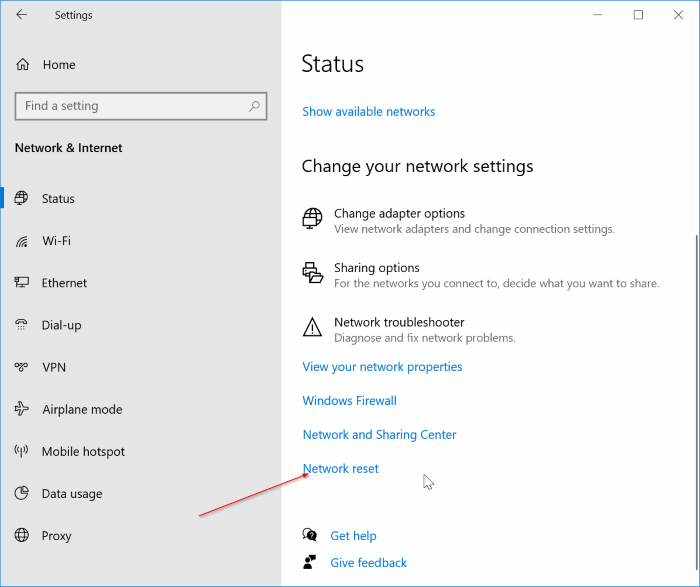
Step 1: Go to Settings > Network & Internet > Status page.
Step 2: Scroll down the page to see Change your network settings section. Click on the Network reset link to open the Network reset page.
Step 3: Here, click on the Reset now button.
Disable antivirus on your Windows 10
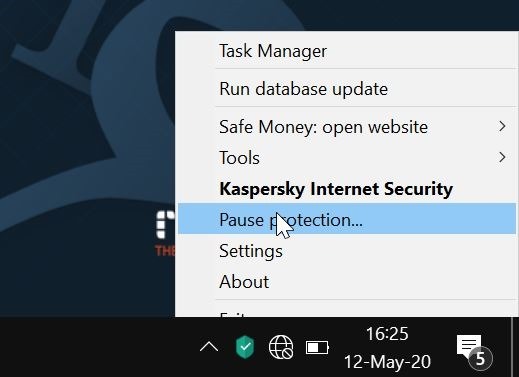
Your antivirus solution might be preventing Windows 10 from connecting to the iPhone hotspot. So, you can temporarily disable the antivirus and check if that helps.
Most antivirus solutions offer a way to turn off the protection right from the system tray icon. Right-click on the system tray icon of the antivirus and check an option is present to disable the protection.
Once your job is done, don’t forget to turn on the protection!
Forget and re-connect
Use this solution when your laptop is detecting iPhone’s hotspot, but cannot connect to it. Here is how to do that.
Step 1: Perform a click on the Wi-Fi icon on the taskbar to see your iPhone’s hotspot.
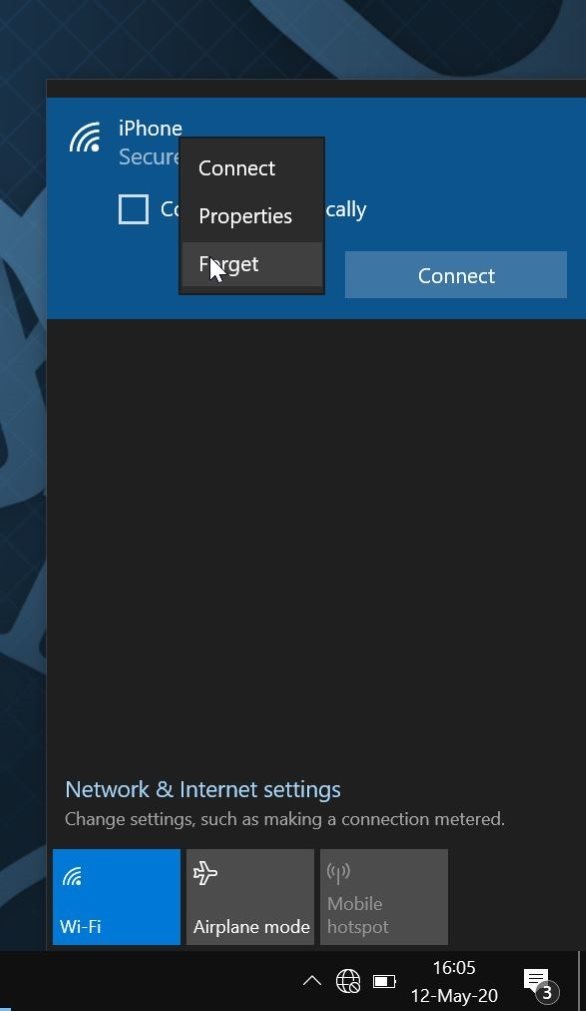
Step 2: Right-click on the iPhone hotspot entry and then click the Forget option to delete any saved information about the iPhone hotspot from your computer.
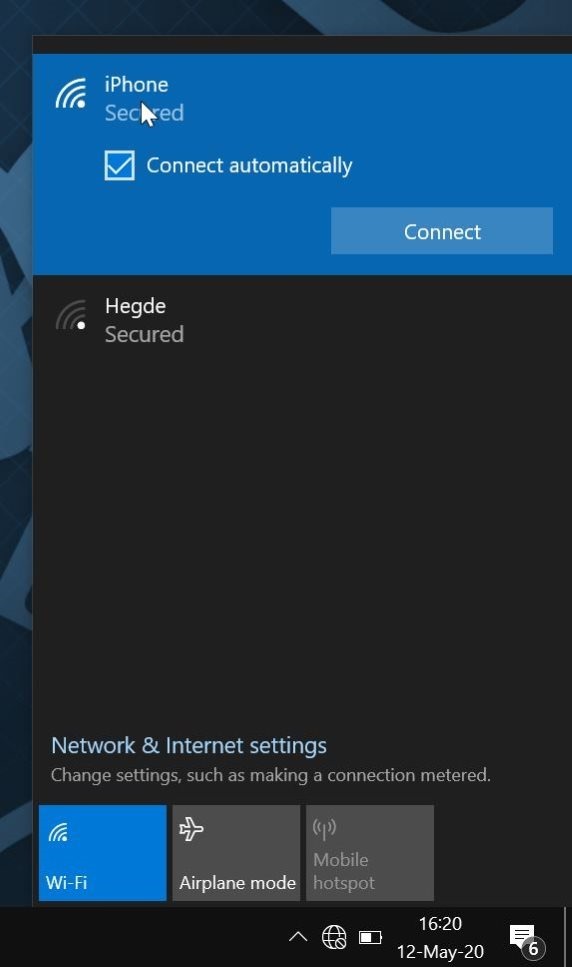
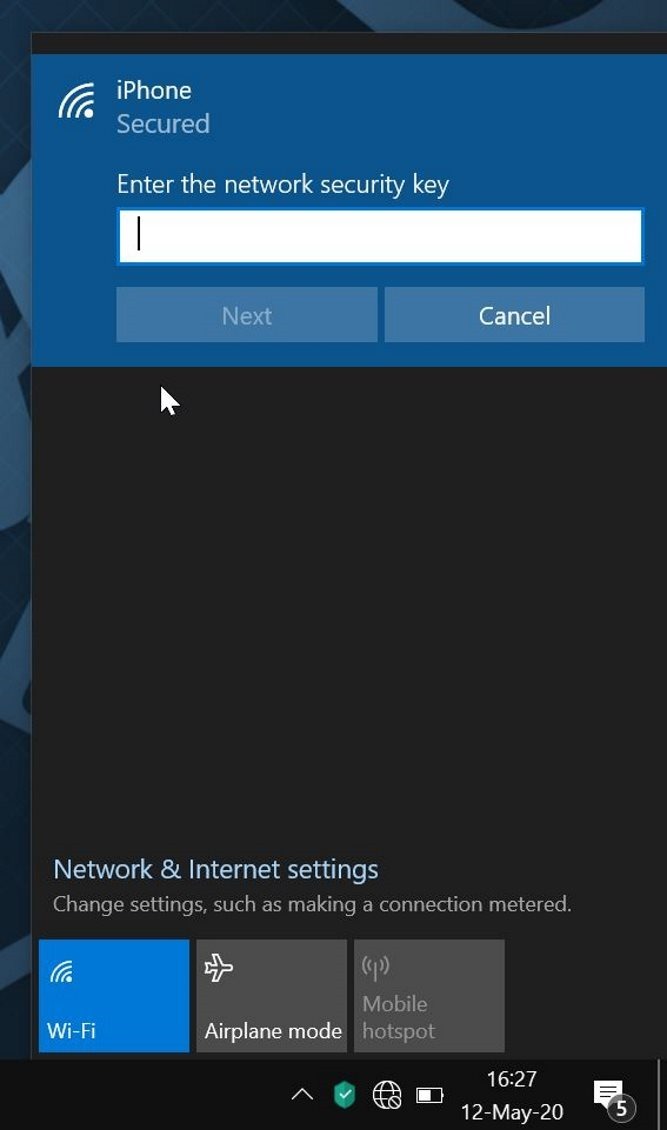
Step 3: Next, click on the Wi-Fi icon again to see the iPhone hotspot. Click on it, click the Connect button, type the password, and try connecting.
It should work. If not, proceed to the next solution.
Connect via USB
If you do not mind using a cable, connecting to iPhone to your Windows 10 computer using a lightning cable and then connecting to the iPhone hotspot is the best way to avoid or fix the issue.
Step 1: Connect the lightning cable provided with your Apple phone to the computer as well as your iPhone.
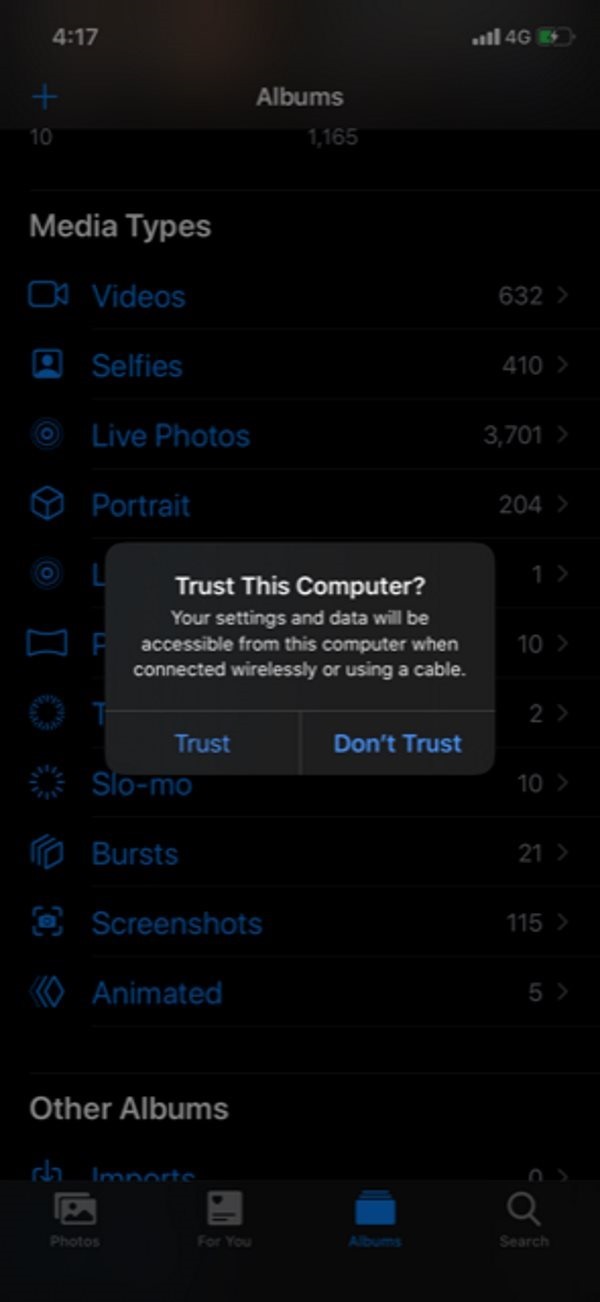
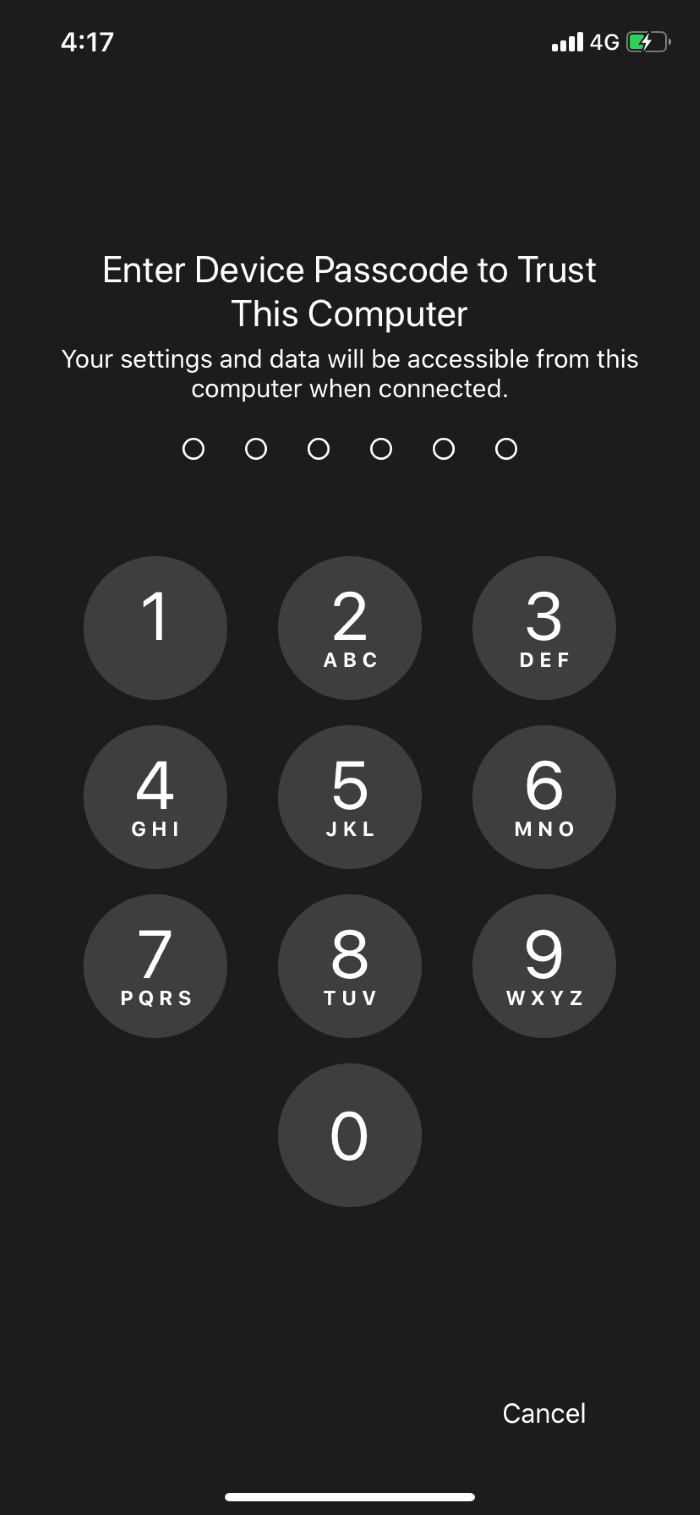
Step 2: When you see the “Trust This Computer?” prompt, tap the Trust option. If a passcode is set, enter the same when asked.
Step 3: Turn off (if already turned on) and then turn on the personal hotspot on your iPhone. Windows 10 should automatically connect to the Personal hotspot. If not select the iPhone personal hotspot from the available network list.
Do not remove the USB cable when your PC is connected to the iPhone hotspot.
Reinstall the Wi-Fi driver on Windows 10
If the above solutions are not working for you, you can try reinstalling the Wi-Fi driver. Reinstall the Wi-Fi driver, especially if Windows 10 is not detecting any Wi-Fi network. One can uninstall the current Wi-Fi driver from the Device Manager.
Before uninstalling the present driver, don’t forget to download a fresh copy of the same from your PC manufacturer’s website as without a proper device driver in place, you won’t be able to connect your PC to the internet!
Refer to how to reinstall the Wi-Fi driver in Windows 10 guide for step-by-step directions.
As a last resort, you can try resetting Windows 10 to default settings.
