
Tagging For Windows is a freeware file and folder categorization tool that can help you find your files quickly. This is not a search tool like Everything, but sort of a file management system that works with Windows Explorer.
Note: After installation, the program will ask you to enter your license key. You can request for a free license key by entering your email address at this page. You’ll receive a mail asking you to confirm your email id, after which it says “Confirm Subscription” for some reason. You can use a throwaway email id to get the license and activate it.
Open Windows Explorer and you will see a new pane at the bottom of the interface. This is the Tags pane, for now it will be blank because no files have been tagged yet. So let’s add some.
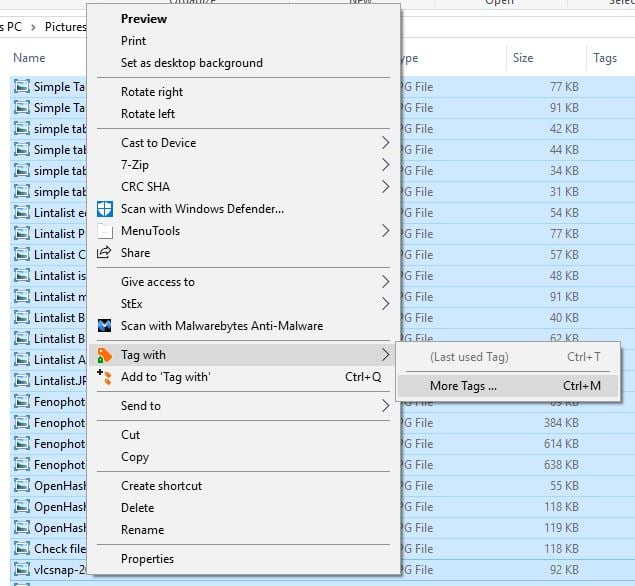
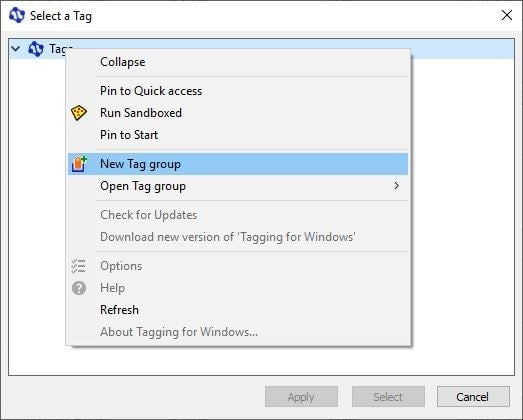
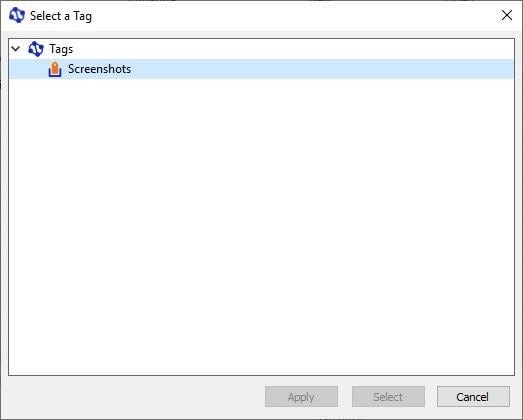
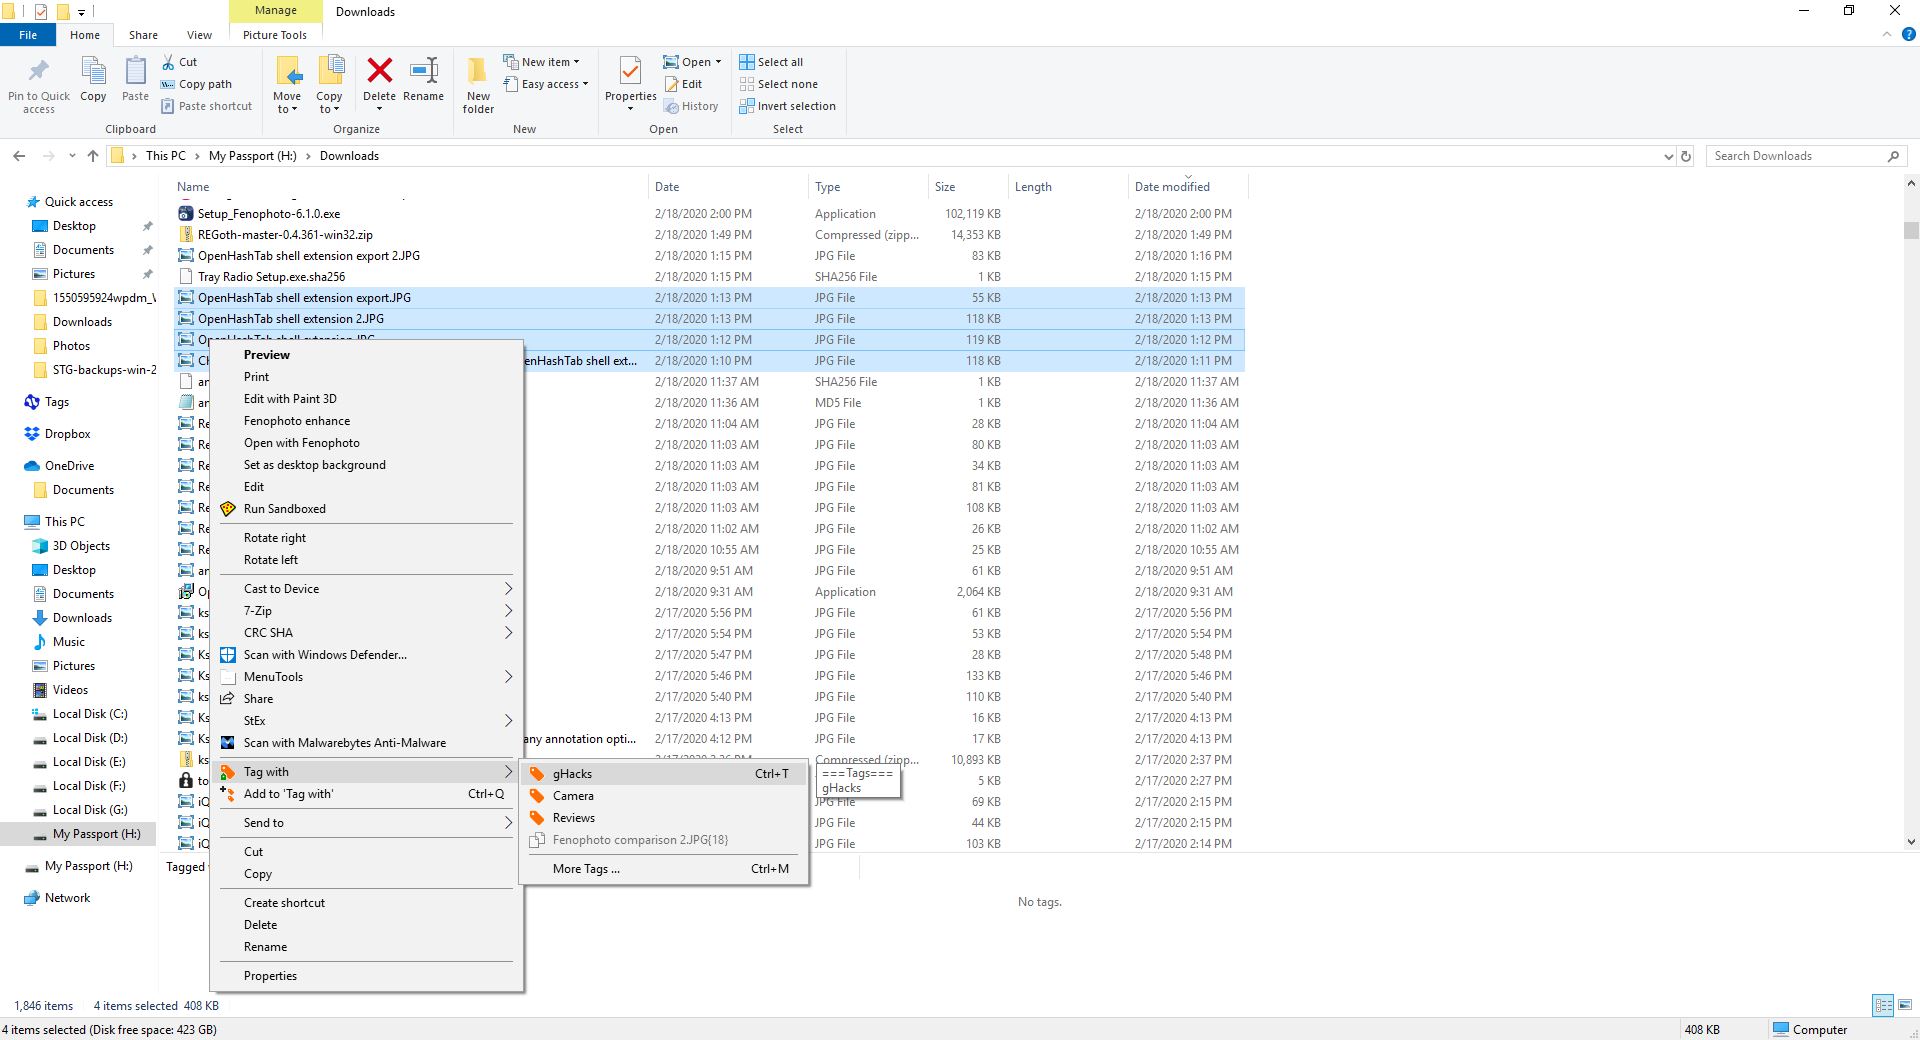
Select some files or folders and right-click on them to view the context menu. Choose the “Tag With” option, and then click “More Tags”. A pop-up window titled “Select a tag” should open. Right-click on the word Tags, and you should see the “New Tag Group” option.
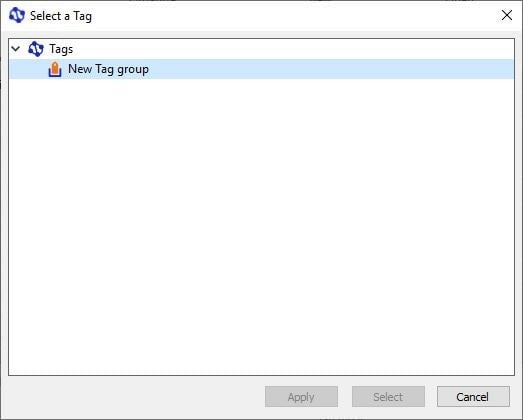
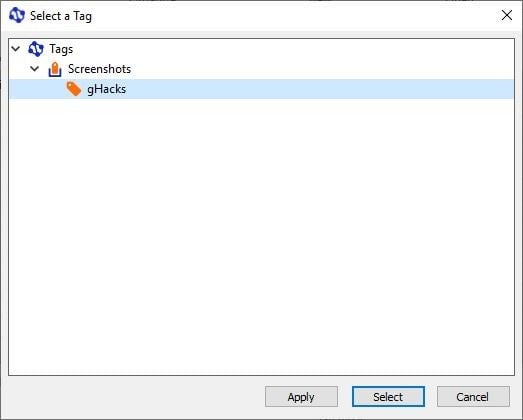
Use it to create your first tag group (sort of like a folder that contains your tags). You can rename it to anything you want, choose something relevant to the file like Docs, Pics, Music, etc. Right-click on the tag group, create a new tag. Hit apply or select to assign the new tag to the files that you chose.
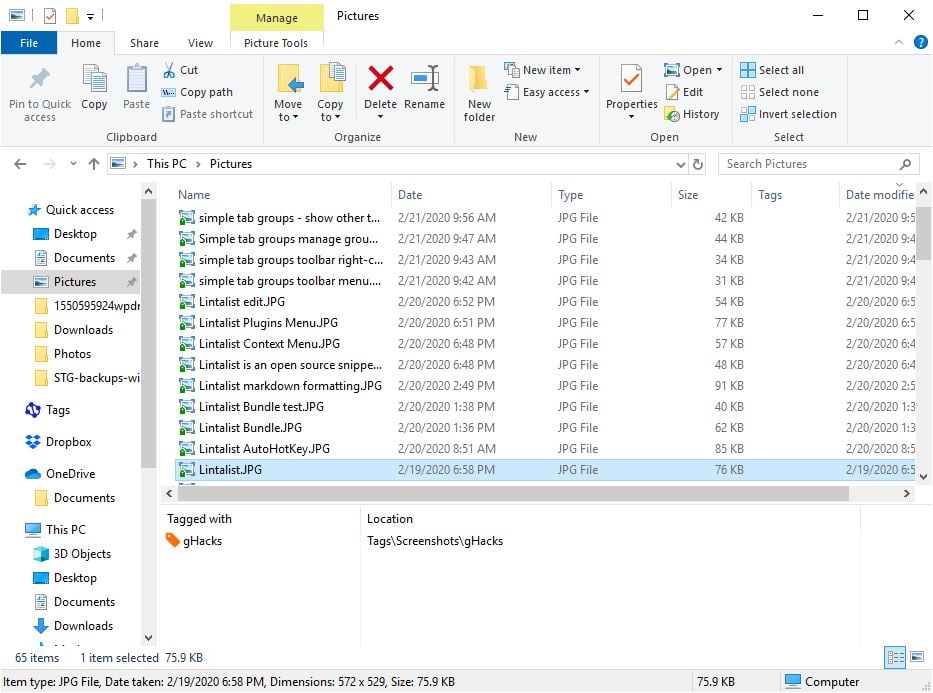
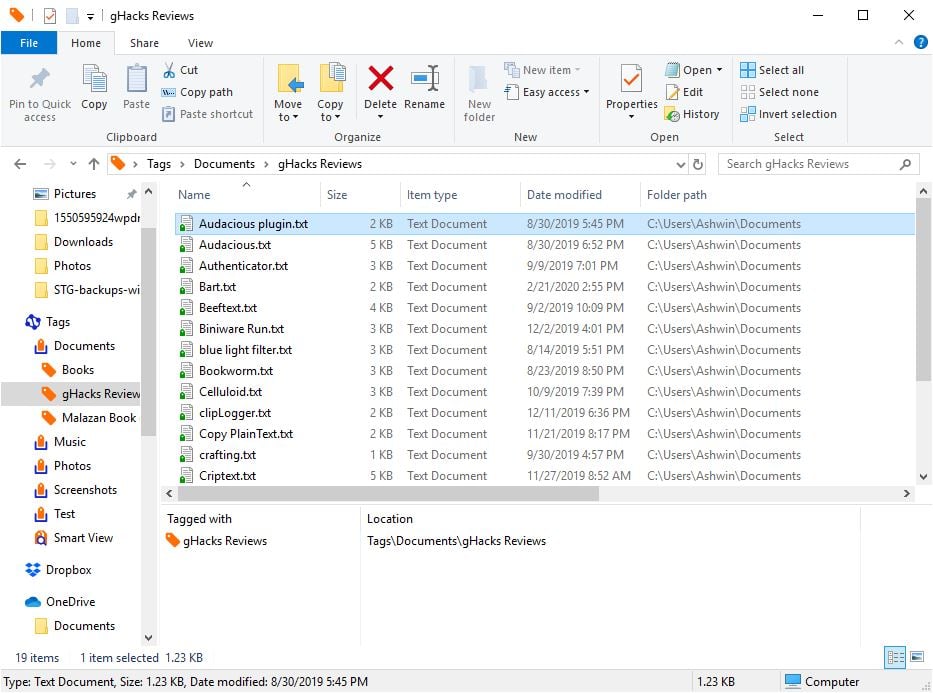
The file icons will be changed slightly, i.e. they will have a tag (badge). You will also notice that the tags pane in Explorer now displays the name that the file has been tagged with, and the location of the tag. The next time you want to use these tags, you don’t have to go through this process, as the tag will be available directly in the Context Menu.
A file or folder can have more than one tag, and likewise a tag may be associated with many files and folders.
How to use these tags?
As mentioned earlier, a selected file/folder’s tag is displayed in the tags pane in Explorer. Tagging a file creates a two-way link, one is the file, the other is the tag. Double-clicking a tag will list all the files that it’s been associated with as if they were in the same folder. You can also right-click on a tag in the Tags pane, and select the Show Within Group, to view all content in that folder.
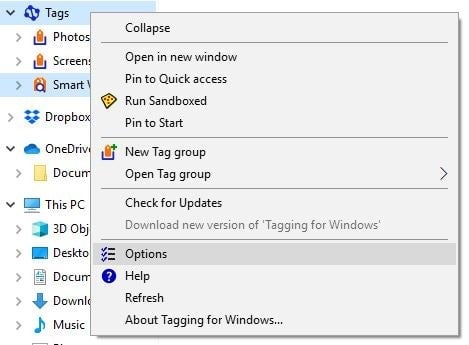
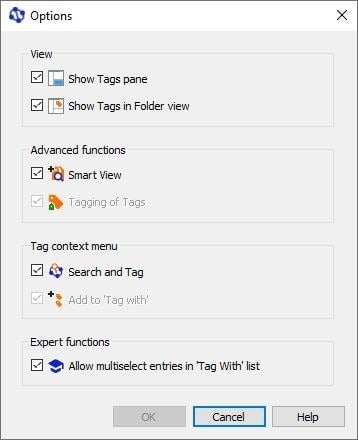
The Windows Explorer sidebar will have a new item named Tags. Select it to view your tags and in turn all items that were tagged. Right-click on the main Tags icon to access the context menu options. This allows you to toggle the tags pane, tags in folder view, smart view, search and tag (context menu item).
Smart View
This is sort of a multi-tag folder. You can right-click files and folders and select “Add to Smart View”. These can then be used to filter the list of files based on a combination of the tags, i.e., if you added files with different tag like Home, Office, Vacation, etc you can narrow down the list to only display those which contain a combination of the tags like Home or Vacation.
Tagging For Windows – Search and Tag
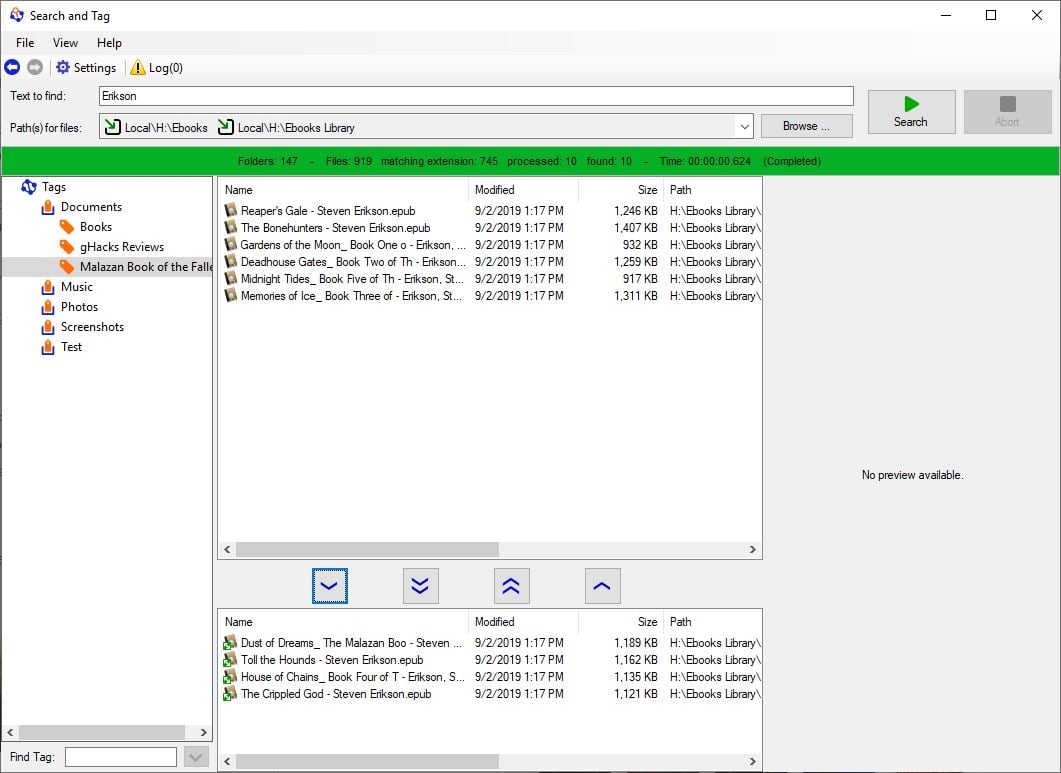
Search and Tag is not just a search tool, it is the primary interface of Tagging For Windows. The primary purpose of this program is to search for files and tag them (without using Explorer). The GUI has four-panes.
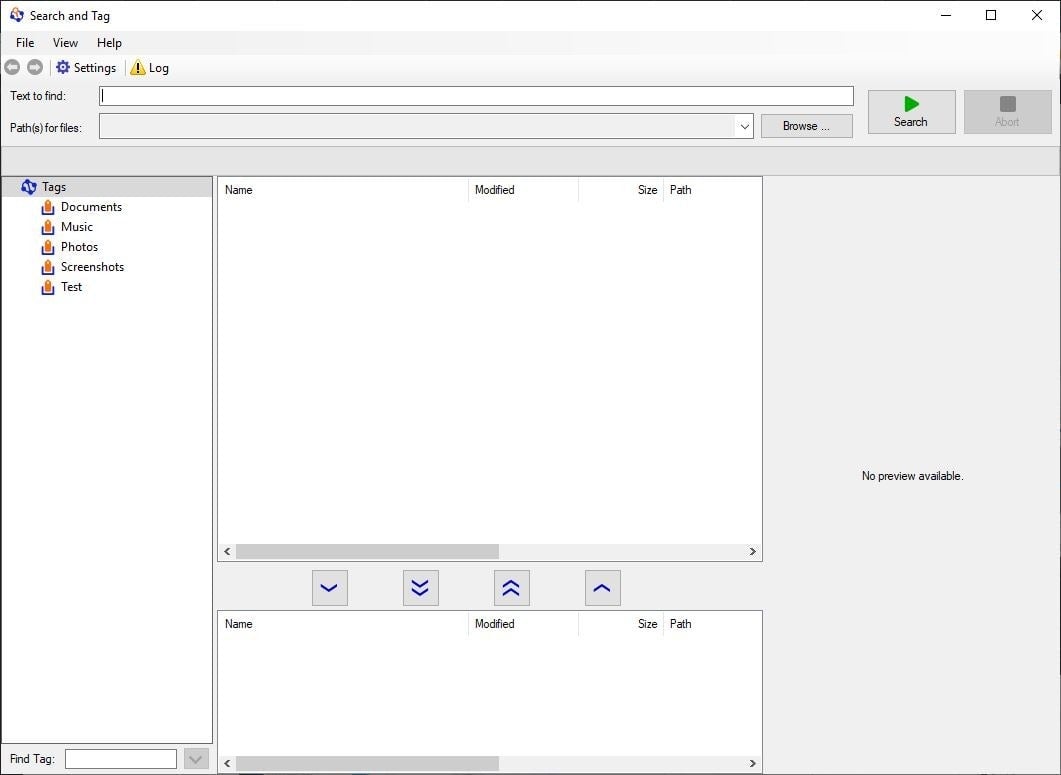
All created Tags and Tag Groups are displayed on the left pane. You can use Search and Tag for creating tags as well, the process is the same as the Explorer one, except that you have to right-click on the word “Tags” on the left pane.
The top pane is the search results pane. To use it, you’ll need to perform a search. You can search for files using the Text to Find field/ Hit the browse button next to the Paths for Files option to set the location where the program should look for the files. The application can search insider folders, drives, tag and tag groups.
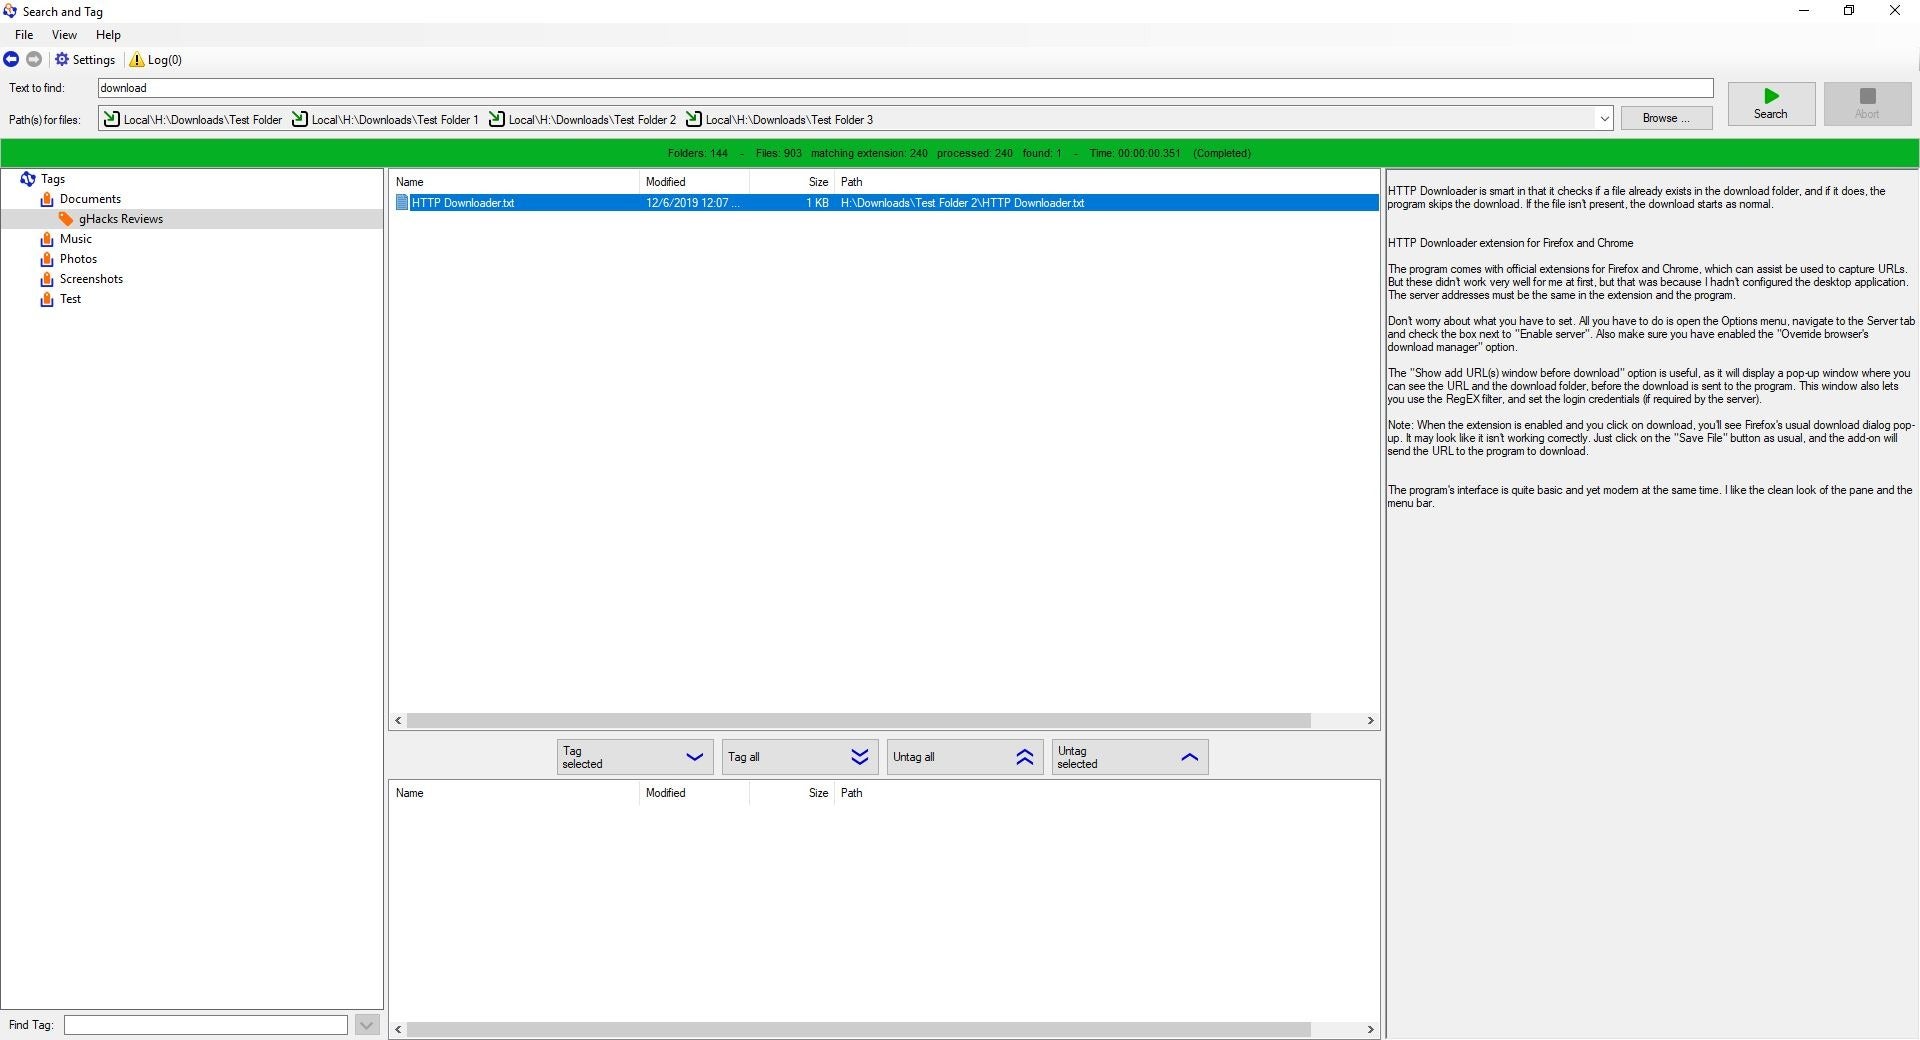
The search tool can find filenames and content, or just one of the two. And that means it can look inside the content of documents to find the keyword you searched for. The supported formats are TXT, RTF, PDF, PPT, PPTX, XLS/XLSX, DOC/DOCX.
When a search result is completed, you can highlight any file and its preview is displayed in the right pane. This works with images and documents.
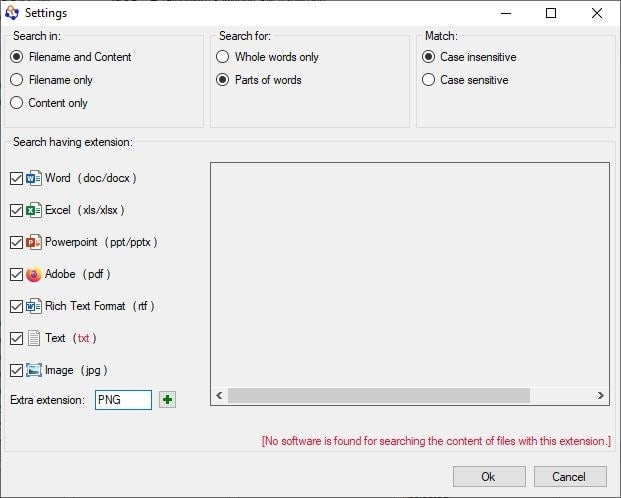
By default, the program does not search for images. Click the Settings button to include images though it’s still limited to the JPG format. Not to worry, enter the extension of the format that you wish to add and click the + button to add it. For e.g. I want to add PNG, so I do it like this.
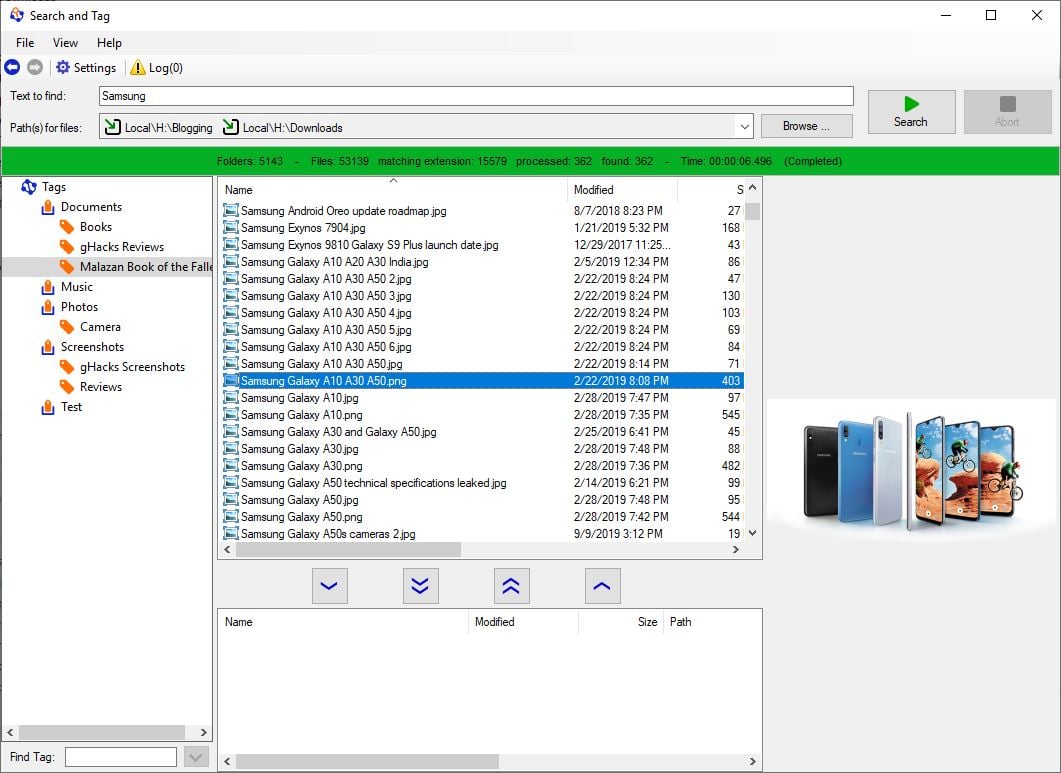
Once you add it, the program will include all files with the extension in the search results. Here’s a screenshot of a search result which includes a PNG file, and the program even displays the preview of the image.
You can tag files by selecting them from the results pane and using the buttons below it. The files that you’ve tagged will appear on the bottom pane.
The program has a slight learning curve, but once you grasp the concept, you will find it to be useful in categorizing files and accessing them quickly.

Tagging for Windows
For Windows