
Windows 11 supports multiple displays. Windows 11 users can use multiple external monitors to improve their work productivity.
As you likely know, Windows 11 offers four options when you connect an external display to your PC. When a secondary screen is connected, you can extend the primary screen, duplicate the primary screen, use only the primary screen, or use only the secondary screen.
While using the secondary screen as an extended display, you might want to set your laptop as your main display.
With default settings, when you open an app, it will be opened on the main screen only. Not only that, even the Start menu and search flyout will open on the main screen. So, you might want to set your laptop or PC’s screen as the main display.
This guide shows you how to set the laptop as the main display in Windows 11.
Set the laptop as the main screen in Windows 11
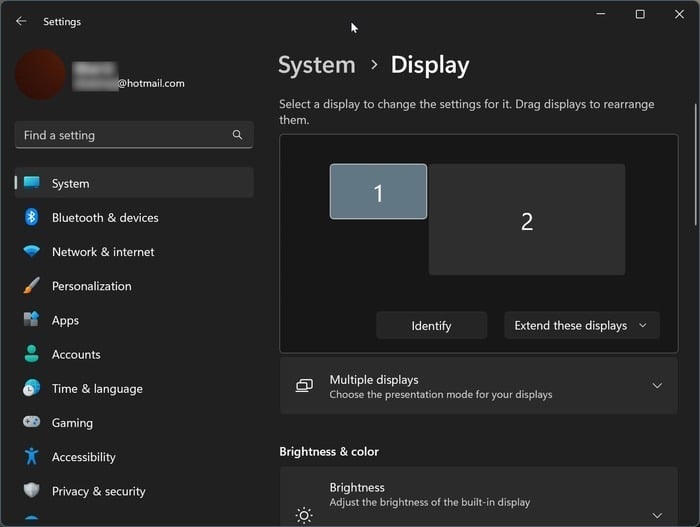
Step 1: Open the Settings app. Go to System > Display.
Step 2: Here, the right side of the Settings app displays your primary and secondary screens. It displays numbers on them.
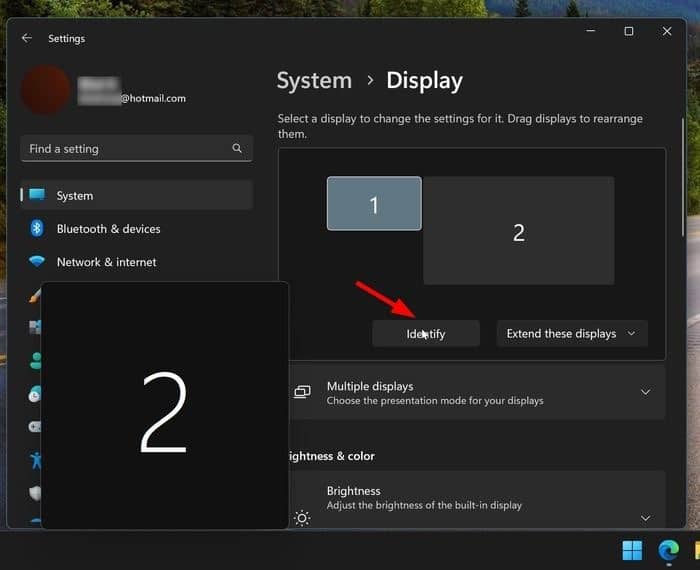
Click the Identify button to know which is your laptop’s screen. A number will be flashed on your screen.
Step 3: Next, select your laptop’s screen (again, in the Settings app), click on Multiple displays to see all available options, and then select the Make this main display option to make your laptop the main screen.
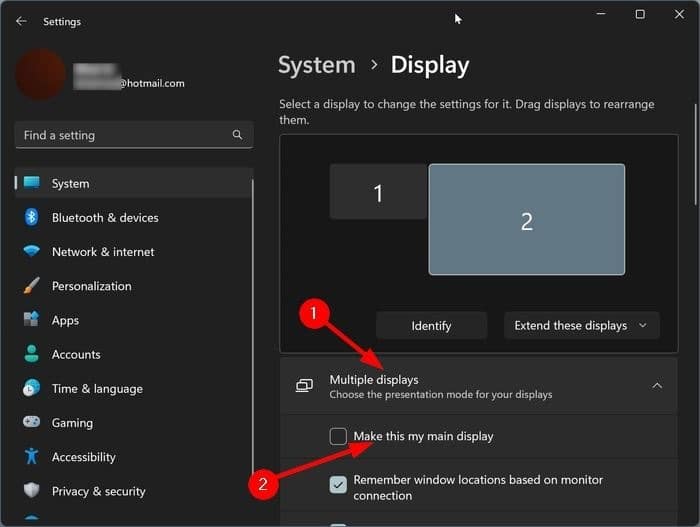
That’s it! From now onwards, all apps and other things will open on your laptop’s screen by default.