
Computer troubleshooting and maintenance sometimes involve the need to restore or install Windows. If you’re dealing with a malfunctioning display on your laptop or want to use a larger screen, connecting an external monitor can be a game-changer. This guide will provide a step-by-step process to restore or install Windows using an external monitor.
How to restore or install Windows using external monitor
Follow the steps to make the setup ready to install Windows using the external monitor.
- Preparing the System
- Accessing the BIOS/UEFI
- Initiating the installation or repair process
- Navigating and completing the Installation Process
- Revert the changes made in BIOS/UEFI
Make sure to revert the changes once your laptop display is restored.
1] Preparing the System
The first step in installing or restoring Windows using an external monitor involves readying the Installation media like a bootable CD/DVD/USB and connecting the external monitor to the laptop or the desktop through appropriate cabling (VGA or HDMI). Further, powering on the monitor and setting the proper input source would ensure an appropriate setup.
2] Accessing the BIOS/UEFI
Once the computer is powered on after following the above steps, configuring the primary display settings from the BIOS follows. To configure the display hardware preference from the BIOS/UEFI:
- Press the relevant key ( F2, F12, Del, Esc, etc.) to enter the BIOS/UEFI. Users can also refer to the motherboard manual for the correct key. Information regarding the same can be checked from the motherboard manual or the manufacturer’s website for the respective system models.
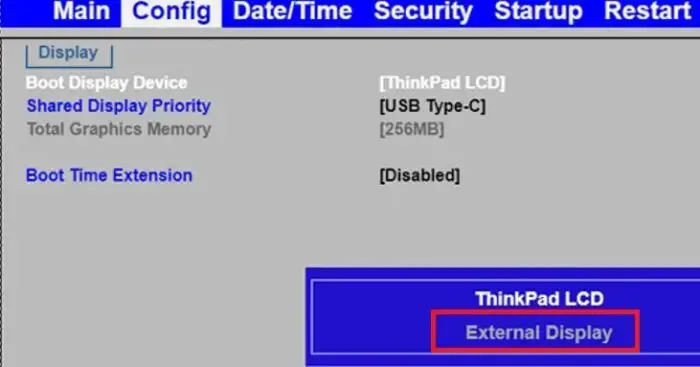
- Check for the option related to the Primary Display in the BIOS and change the same to External Monitor. Depending on the system, the option names may read Primary Display, Initial Display Output, or other related terminology.
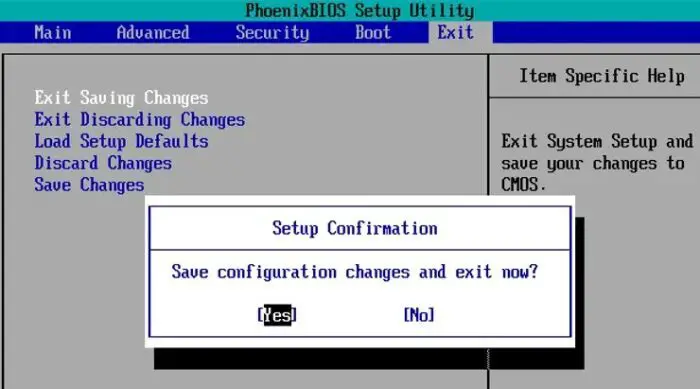
- Save the changes and restart the system.
3] Initiating the installation or repair process
Once the system restarts, the Windows Setup process will be initiated with the external monitor displaying the setup screen and further instructions to be followed as detailed below:
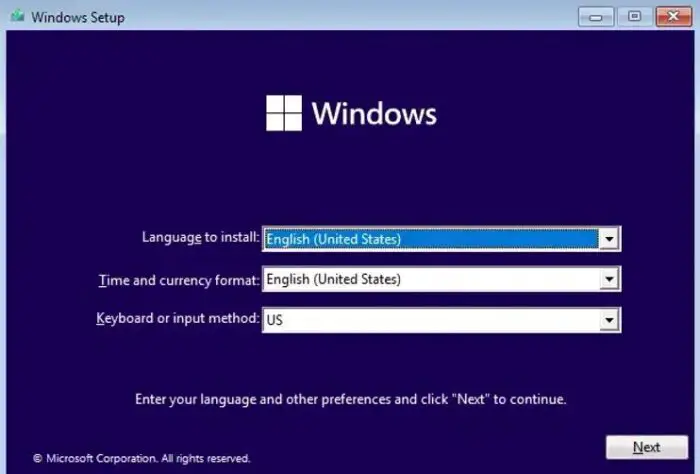
- Users can enter their Preferred Language, Time, Currency Format, and Keyboard Preference. Click Next.
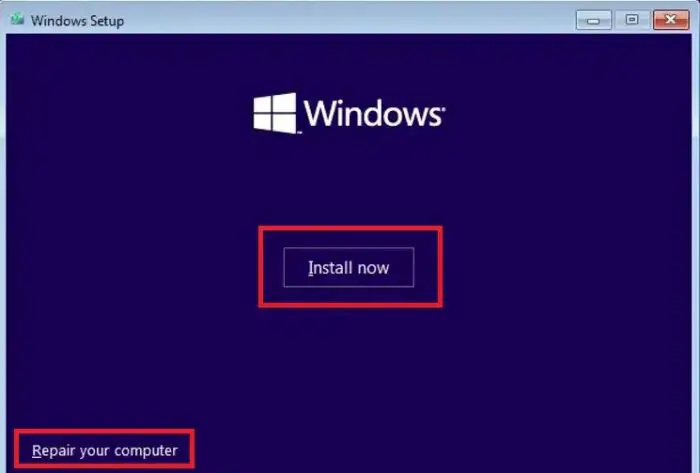
- On the ensuing screen, click Install Now to begin a fresh installation or Repair Your Computer to restore Windows.
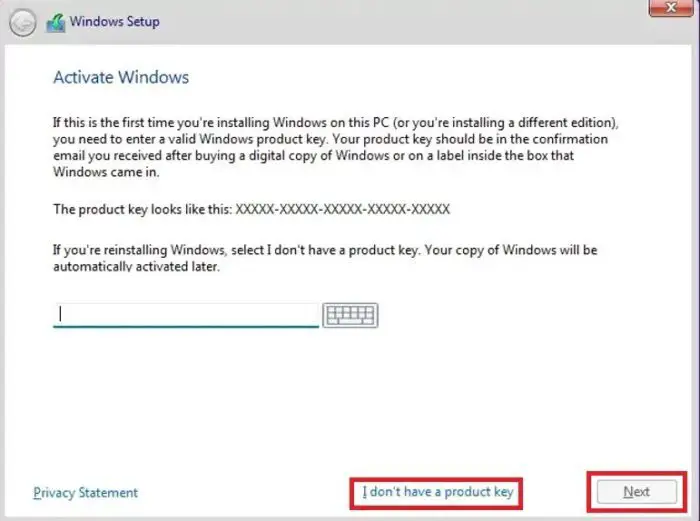
- The next screen would prompt you to enter the product key. Users may enter the same or skip it to enter it later after the installation process completes and click Next to begin the installation process.
4] Navigating and completing the Installation Process
Users can follow the on-screen instructions to complete the setup or restoration process based on whether a fresh installation or repair is undertaken.
5] Revert the changes made in BIOS/UEFI
Once the installation process is complete, changes made in the BIOS for the boot order can be reverted along with the primary display settings.
Frequent challenges and solutions when installing or restoring Windows
Although the installation or repair process of Windows using an external monitor is relatively simple, users might face a few challenges or errors during the process, as detailed below, along with the possible corrective measures that can be applied:
1. BIOS/UEFI settings display
Since the BIOS/UEFI settings are typically displayed on the primary display device, users having problems with the laptop screen may be unable to view the settings to change the Primary Display and the boot order. In such cases, closing the laptop lid after switching on the system might force the device to use the external monitor attached as the primary display.
2. Installation screen visualization
At times, users might encounter problems related to the external monitor display, especially a blank screen. In such cases, checking the connecting cable for proper connection or using a different port to connect the monitor can help resolve the issue.
Conclusion
Utilizing an external monitor to install or repair Windows can be an effective remedial measure in various scenarios, especially when dealing with a faulty or malfunctioning primary display. However, caution should be exercised while making changes in the BIOS to avoid any untoward errors.
Can reinstalling Windows fix the black screen?
Yes, it can. When you reinstall Windows, it removes everything, including the one that causes the issue. However, before complete reinstallation, you might want to try less drastic solutions such as System Restore. It cannot be fixed if the issue is because of hardware. It would be best to try a second monitor to perform the initial setup.
What is the shortcut for Windows repair?
Hold down the Shift key, click Restart, and keep holding Shift until the computer reboots. Then select Troubleshoot, go to Advanced Options, and choose Startup Repair.